This manual is mainly about how to create a boot disk.
First, you need to install the ABB application, which requires an internet connection. If there is no internet access, find another machine that can reach the official website to download the installation package for this device, and then upload it. When installing the software, you need to create a storage space; simply follow the NAS wizard.
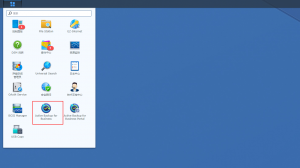
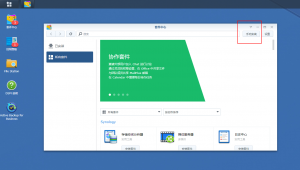
ABB needs to be activated after it is installed for the first time. If you purchased a genuine license, you can activate it directly.
After activation, you will see the interface below. This software can back up virtual machines, computers, file servers and physical servers. As far as I know, physical servers and computers can only run Windows operating systems, and two NAS devices can also be configured for active-active or for B backing up A, but that requires additional components.
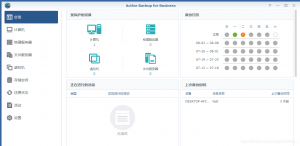
Here we will only use computer backup for the demonstration.
To back up a computer, you need to install the Agent on that computer. It can be downloaded and installed from the Synology official website; follow the software prompts during installation.
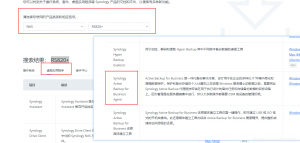
Select Computer and create a task
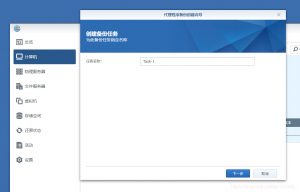
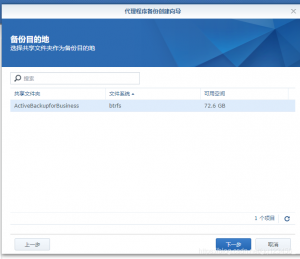
Select the destination folder
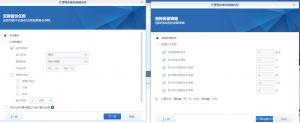
You can customize the disk and select the data you want to back up
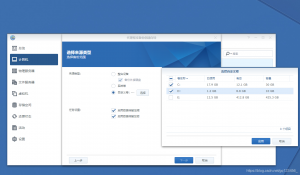
Configure the backup policy
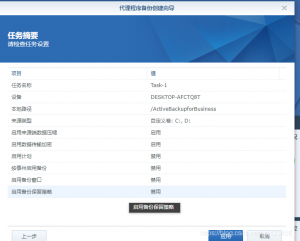
Confirm the backup information and click Confirm to back up immediately
The task list shows the specific backup information, including time, bandwidth and errors. The backup version used here is an earlier one, which makes no difference.
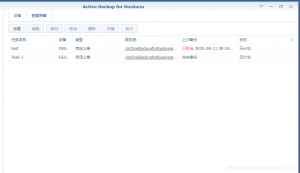
Wait for the backup to finish. You can check it through the software, and it can also be opened on the target computer through the agent.
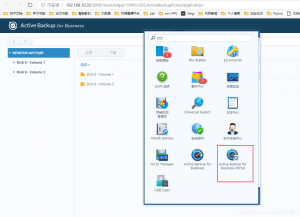
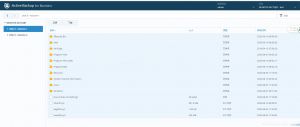
If you only need to restore files or a data disk, you can do so on the client side or the server side. The entries above mean that I backed up two disks. When restoring an entire disk, be sure to press Shift to select all folders; if you are restoring a single file, simply select that file.
The following is the server-side interface
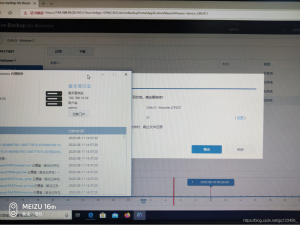
The following is the client-side interface; the operations are all the same
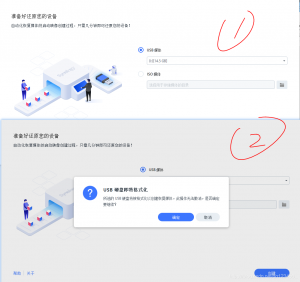
For a full machine restore, you need to create recovery media, either ISO or USB drive recovery. Here we use a USB drive.
You will need a 2 GB USB drive, as well as another piece of software, which you can download from the Synology official website for the corresponding Synology model.
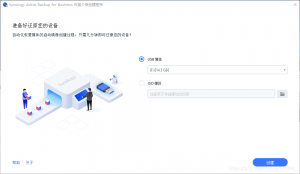
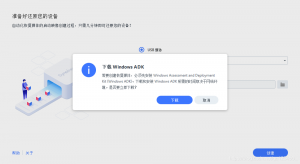
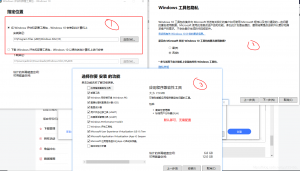
After the download is complete, reopen the software mentioned earlier, format the disk and wait for it to be written; the media is then created.
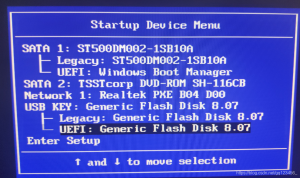
Insert the boot media into the client that needs to be restored, and boot from the USB drive (check the instructions for each brand)
For the following operations, the defaults are fine unless you have special requirements. The screenshots below may appear out of order, but they are generally similar.
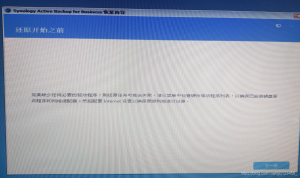
If there is DHCP on the LAN, no IP configuration is needed; if not, you must configure it manually.
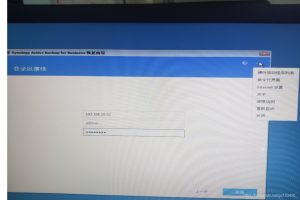
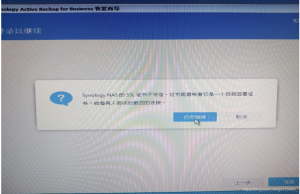
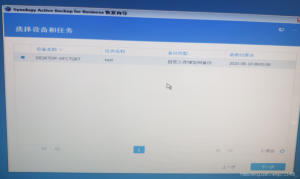
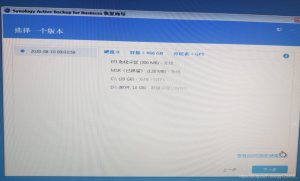
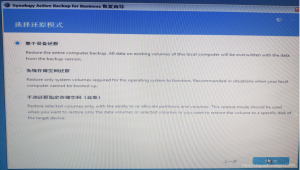
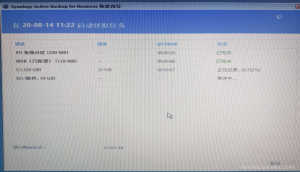
Now simply wait for completion.
————————————————
Copyright notice: This article is an original work by CSDN blogger “Meng Qi Ai”, published under the CC 4.0 BY-SA copyright agreement. Please include the original source link and this statement when reposting.
Original link: https://blog.csdn.net/gq123456_/article/details/107997525