How to Use Synology’s Active Backup for Business Suite (ABB Suite)
【Introduction】
When it comes to backing up a personal PC, most people think of GHOST. GHOST was once all the rage across the country, but the year is already 8102, and GHOST — which does not support UEFI and cannot back up multiple machines in batches — is long past its prime. Today I would like to introduce Active Backup for Business, the backup suite Synology has just released.
Active Backup for Business can back up not only personal computers, but also servers and virtualized environments. Backups require no service downtime, and by leveraging the copy-on-write features of BTRFS, multiple backup versions can be retained without consuming excessive storage space. Best of all, unlike other commercial backup software, it does not require spending a large amount of money on licenses. Active Backup for Business is free, free, free — and important things are worth saying three times. Once you have purchased a Synology NAS, you can enjoy all the convenience Active Backup for Business brings.
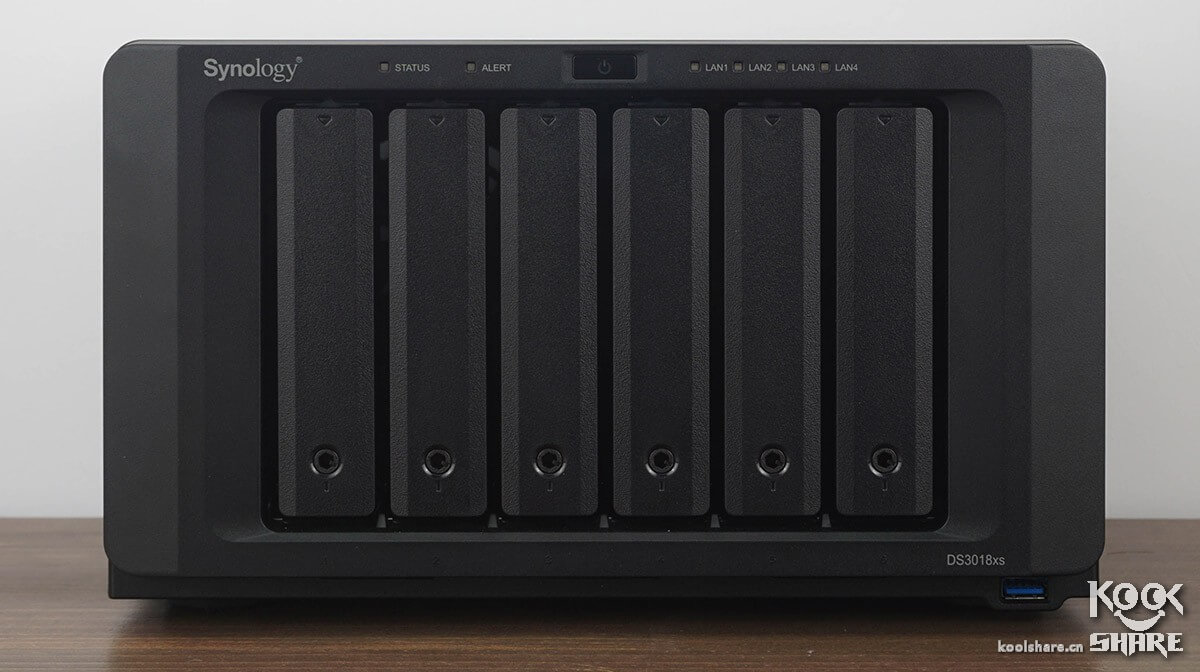
In the walkthrough that follows, a Synology DS3018xs is used as the hardware platform. Active Backup for Business does place certain demands on NAS performance, so a NAS in the Plus series or above is recommended.
【Enabling Active Backup for Business】
Active Backup for Business installs just like an ordinary package — you can install it right from Package Center.
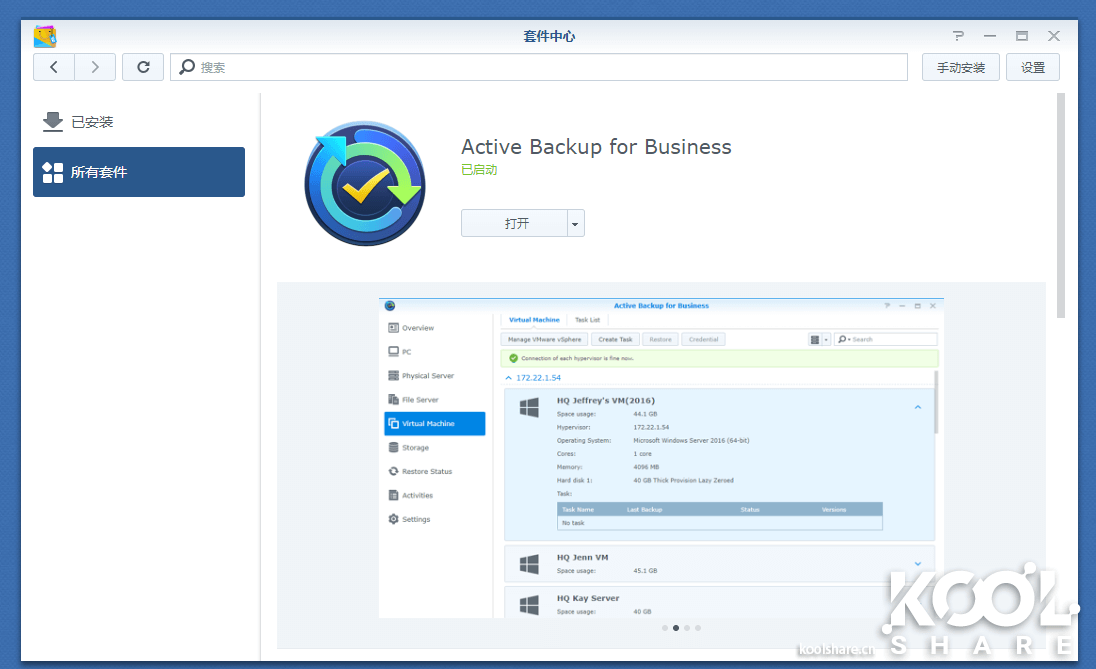
Unlike other packages, Active Backup for Business must be activated before it can be used. If you are running a black Synology (an unofficial DSM installation), you can contact the blogger to have it whitelisted (blogger’s QQ: 13145812, code word: whitelisting); once that is done, it can be activated.
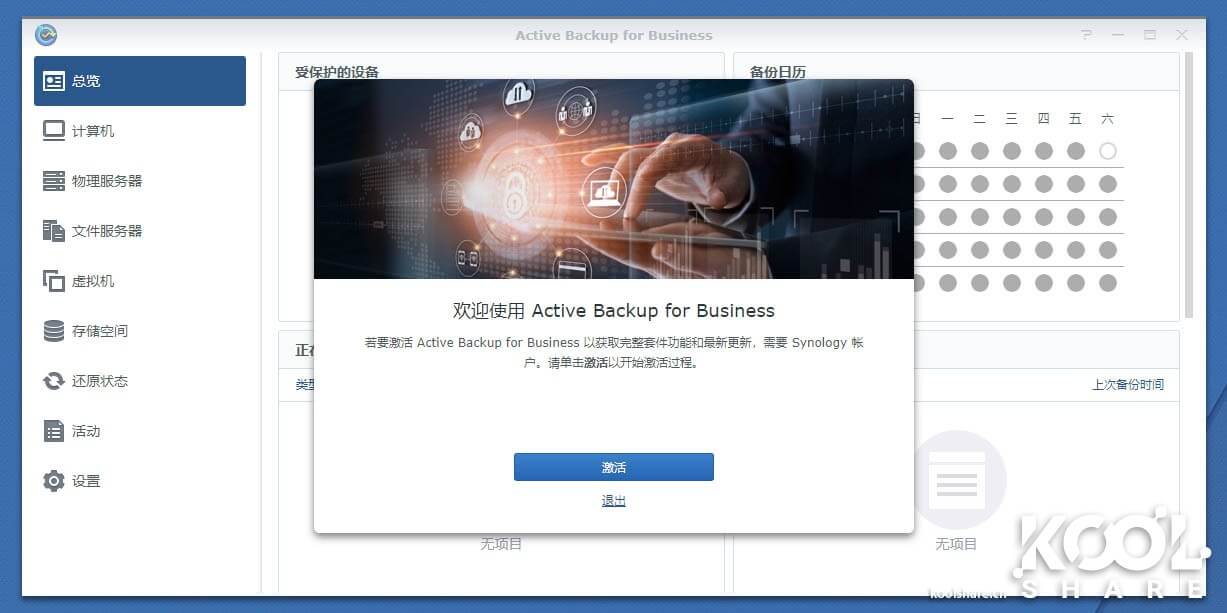
Activation is simple: you only need to accept the Active Backup for Business user license agreement.
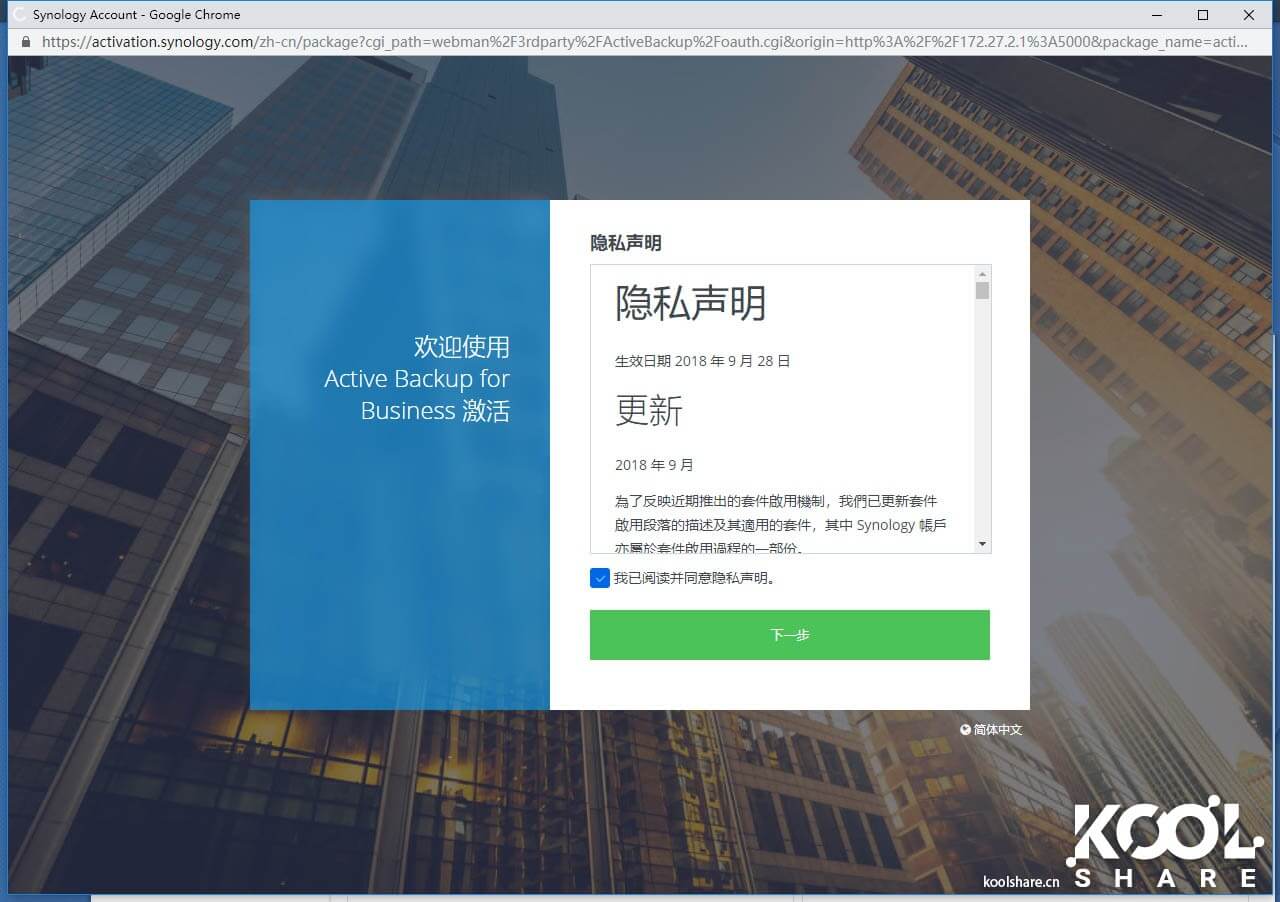
Then log in with your Synology account, and Active Backup for Business will check whether your NAS is a Synology NAS.
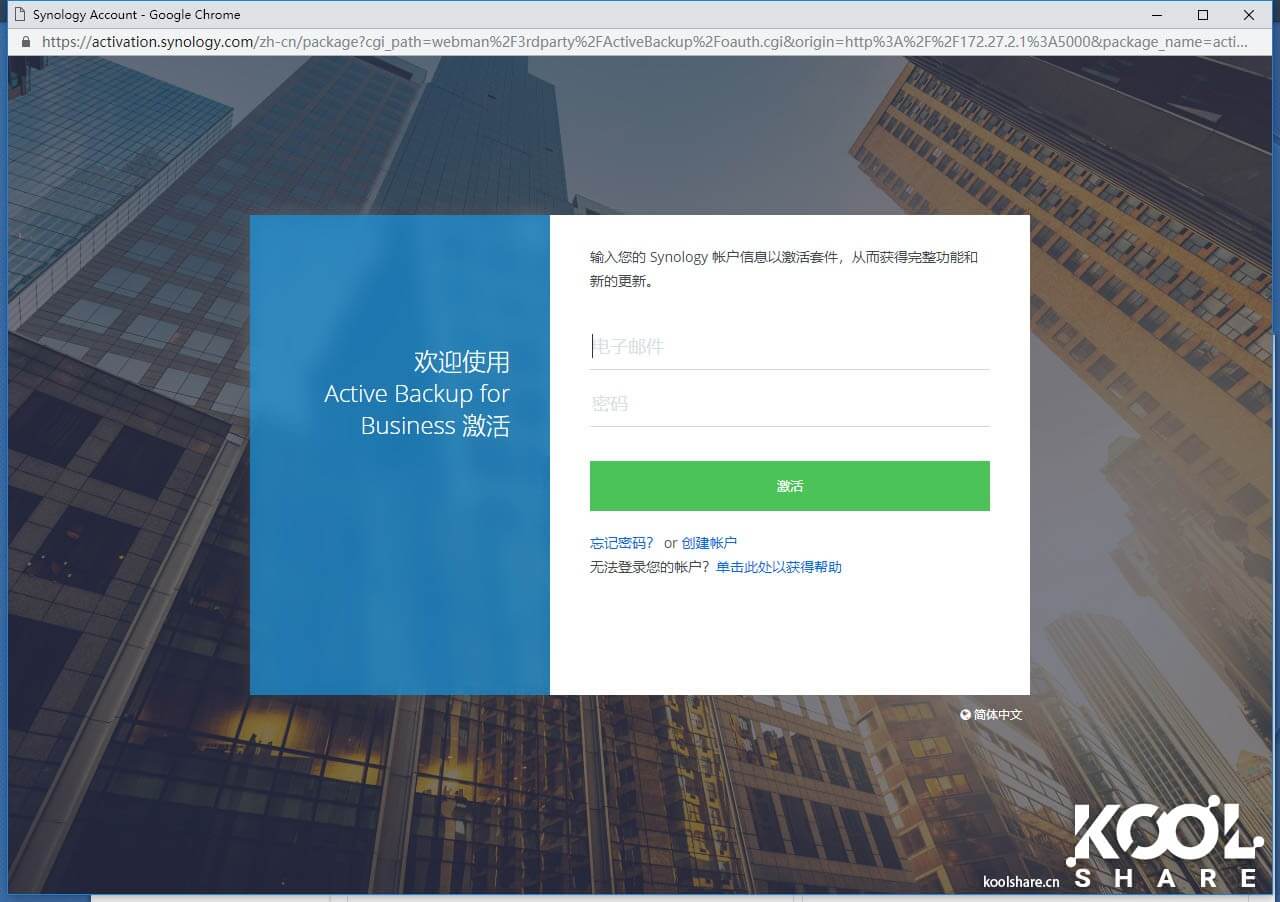
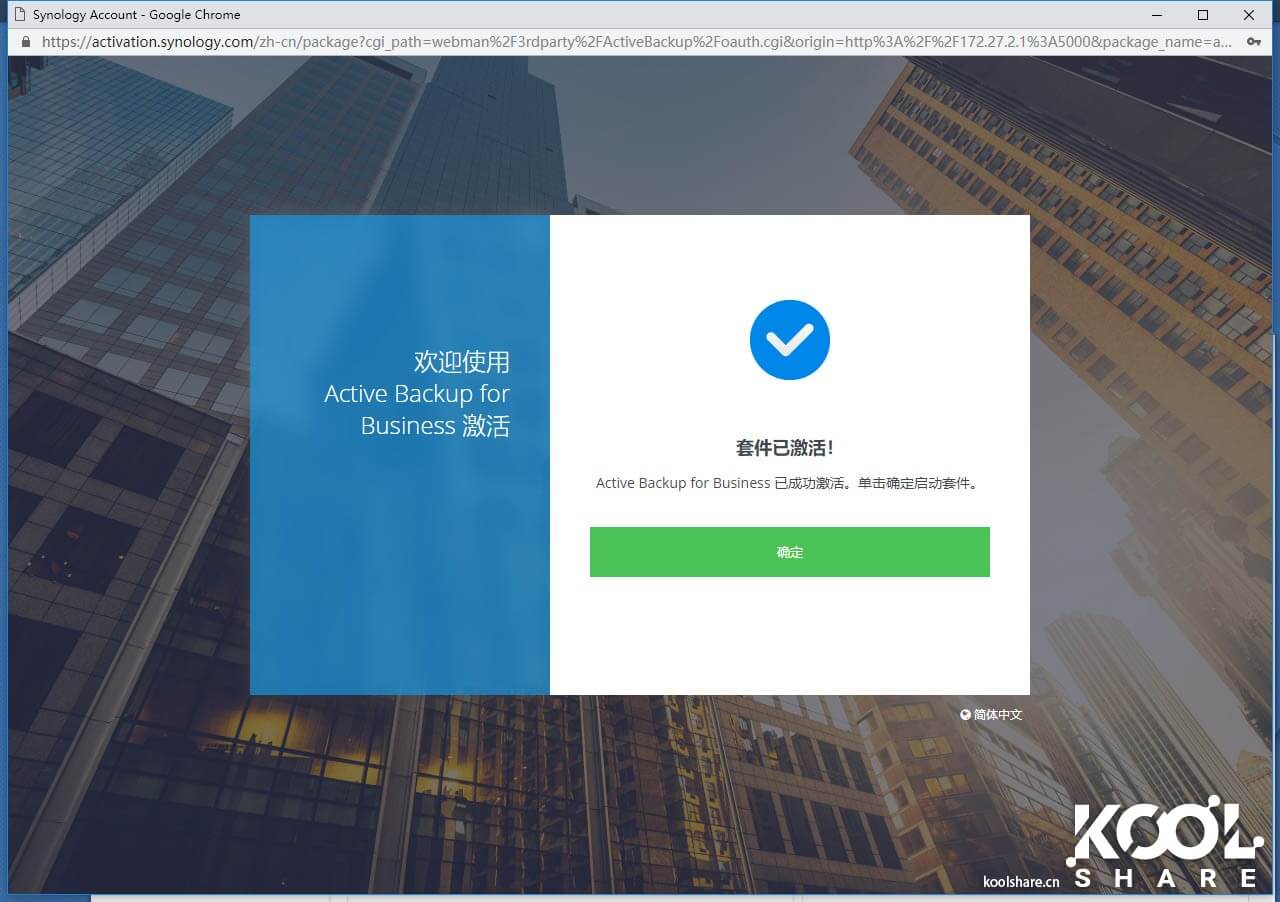
It then activates automatically — no payment required, completely free, and ready to use once activated.
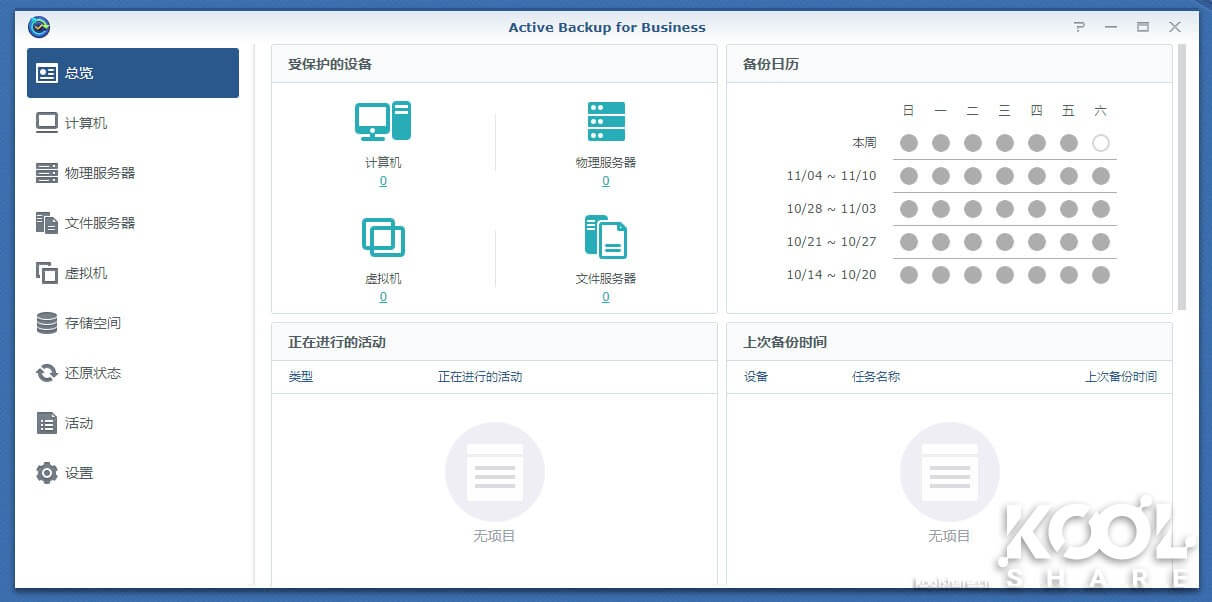
After activation you can see the main interface of Active Backup for Business.
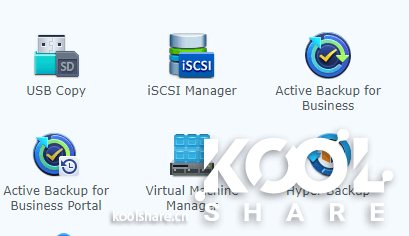
Active Backup for Business appears as two package entries. Active Backup for Business is the main management tool, while Active Backup for Business Portal is a companion tool; administrators can authorize users to use the companion tool to carry out restores and check backup progress on their own.
【Personal PC Backup and Restore】
1. PC
Today the PC has become the primary productivity tool for enterprise employees, and keeping the data on those PCs safe is extremely important. With laptops now in widespread use, data loss caused by lost or damaged laptops happens all too often. For an enterprise IT administrator, backing up every computer by hand would be an enormous workload. At that point, a backup tool that supports centralized management and unattended batch operation becomes very important indeed. Synology Active Backup for Business is a perfect tool that meets exactly these needs.
PCs, unlike Macs, do not come with the superb built-in Time Machine that can complete a system backup directly; they need third-party tools for a full backup. For Active Backup for Business, that backup tool is the Agent. Synology Active Backup for Business Agent is a background program responsible for backup services.
1. Installation and Deployment
Let us first look at installing and deploying the Agent, which is fairly straightforward.
The Agent can be downloaded conveniently from Synology’s official site. It installs directly, just like any ordinary Windows application.
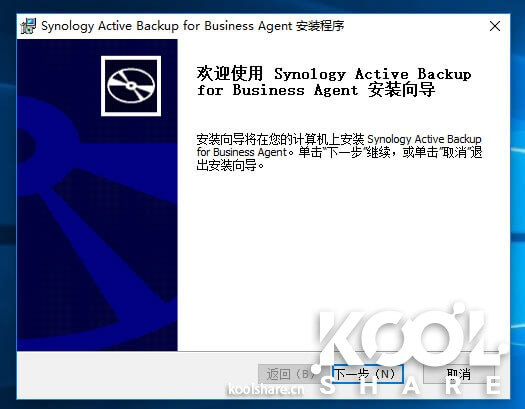
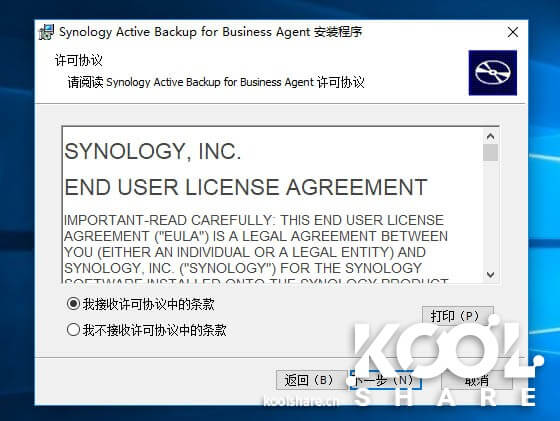
During installation you will need to accept the terms of use.
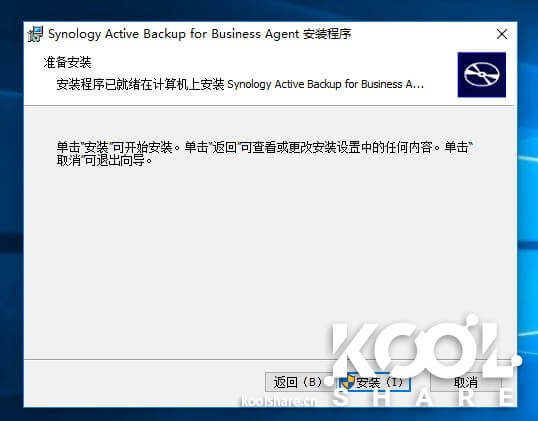
Once the information is confirmed, installation begins; the Agent installs very quickly.
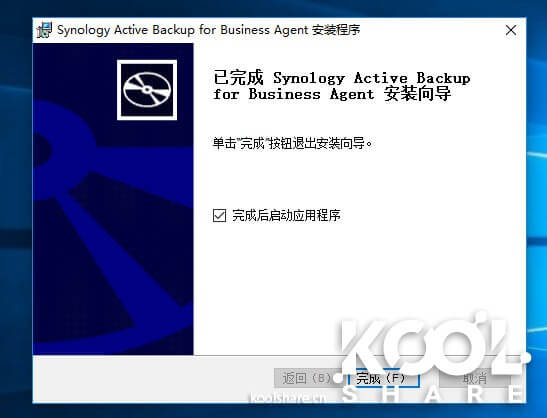
When installation is complete, launch the Agent.
After the Agent starts, you first enter the NAS server address and user account information. Because Active Backup for Business transfers large amounts of data during backup, connecting via QuickConnect is not recommended here.
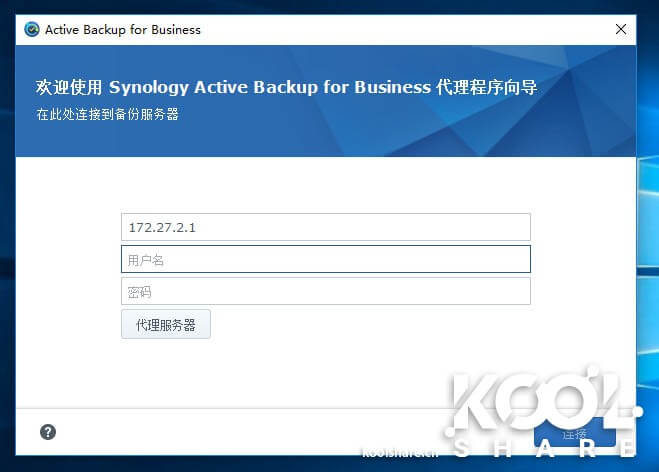
The Agent will attempt to connect to the server on its own.

Once the connection is complete, the Agent applies an automatic default configuration, and the remaining operations are all carried out on the Synology. This simplified deployment is very convenient for enterprise IT. After installing the Agent on the clients, you can manage everything centrally from the Synology interface.
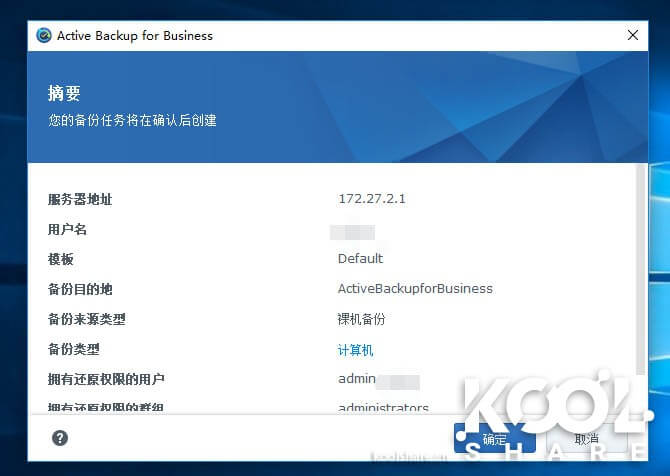
The Agent’s management interface likewise shows only a simple status display; all operations and configuration are done on the Synology.

2. Backup Management and Backup
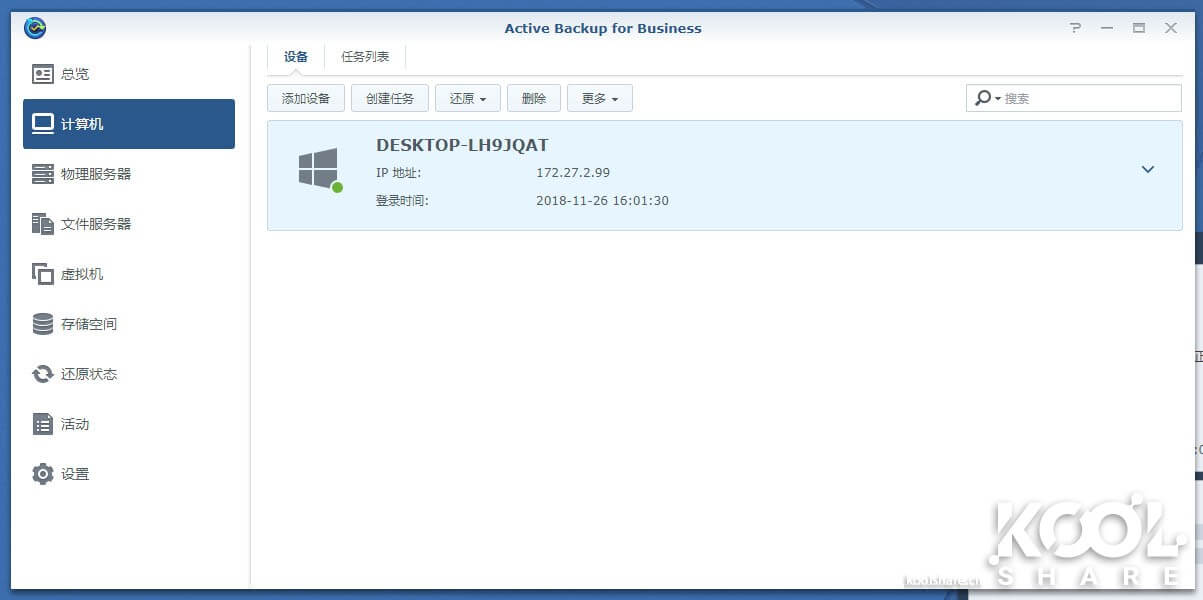
After the Agent is installed, you will see one more computer listed in the Active Backup for Business management interface. For large enterprise IT teams, you can install the Agent in bulk and then manage the PCs centrally here.
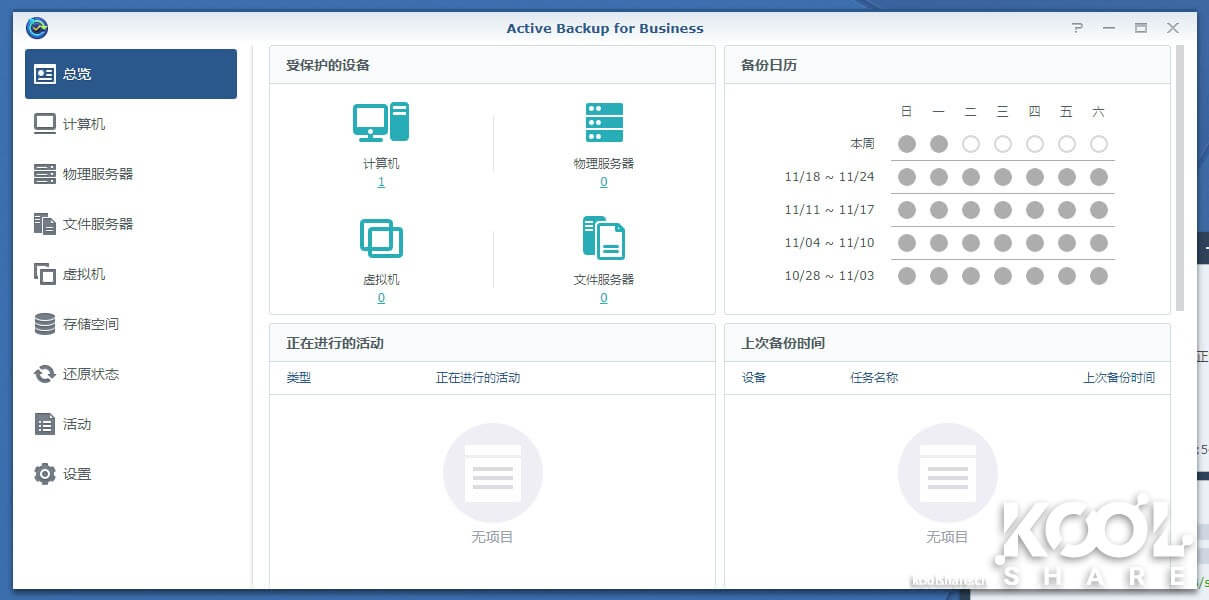
On the Computer tab, you can see that the device on which the Agent was just installed is already present. Only one device was installed here for the demo; in actual use you can manage multiple PCs in bulk.
After the Agent is installed, one backup policy is created by default.
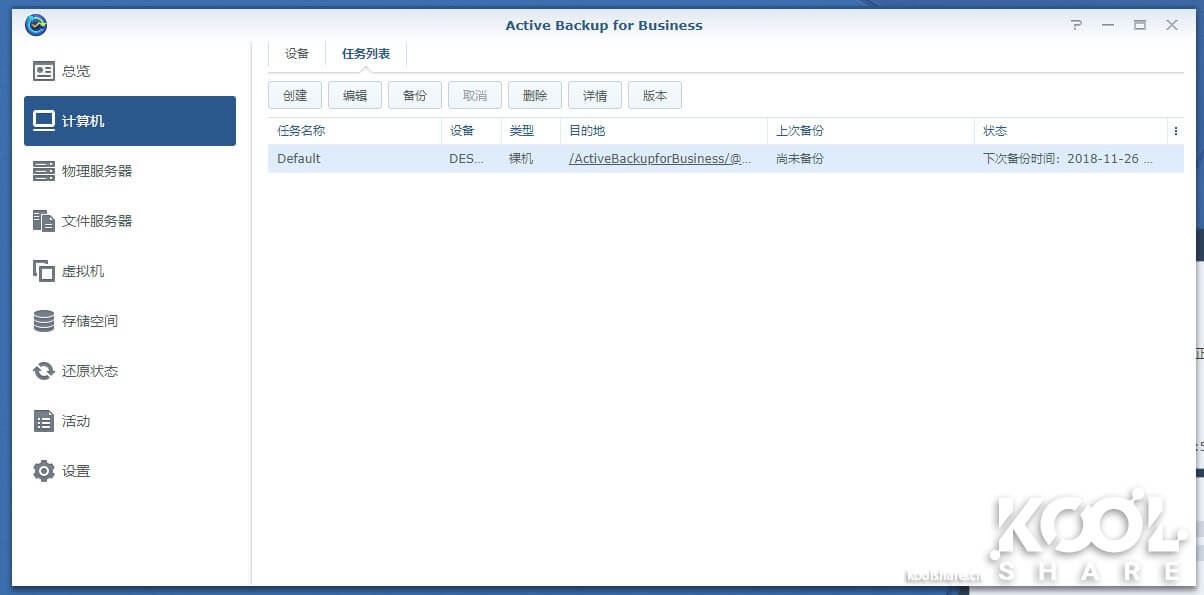 You can edit this backup policy yourself. Of course, you can also delete policies to manage them centrally.

Here we delete the default policy and create a new backup policy.
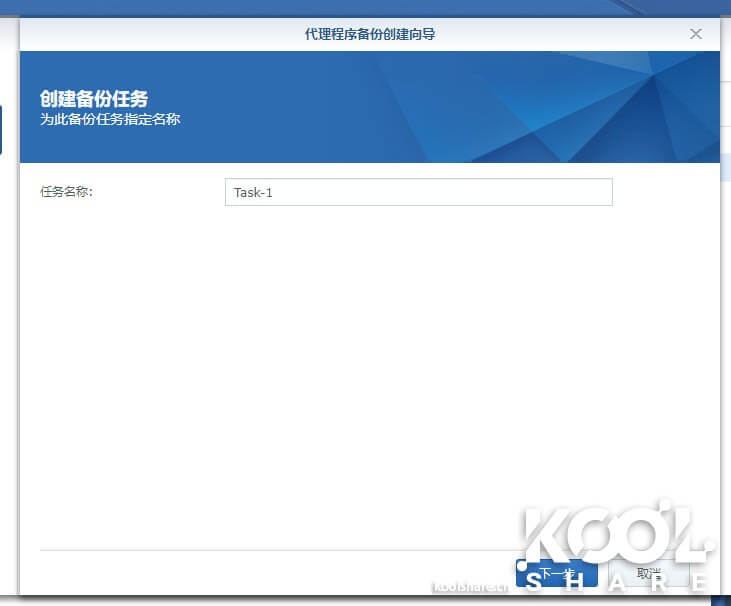
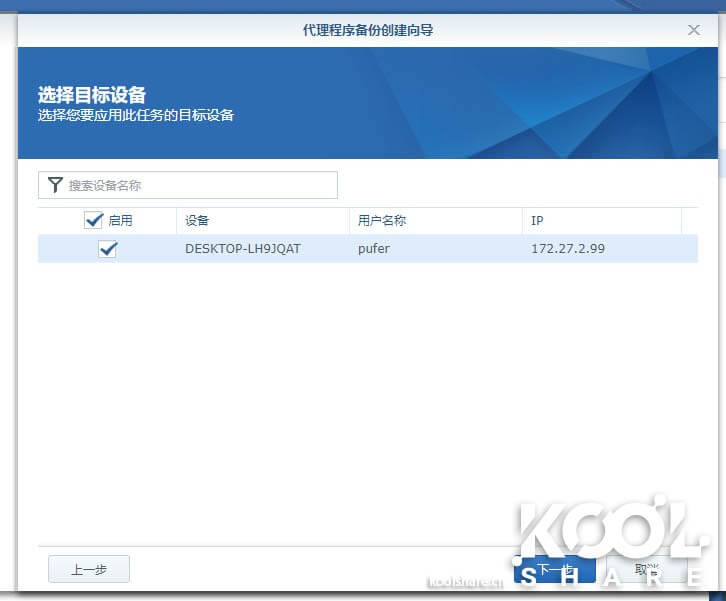
Select the PC to back up. If there are multiple machines, you can select them in bulk and back them up together.
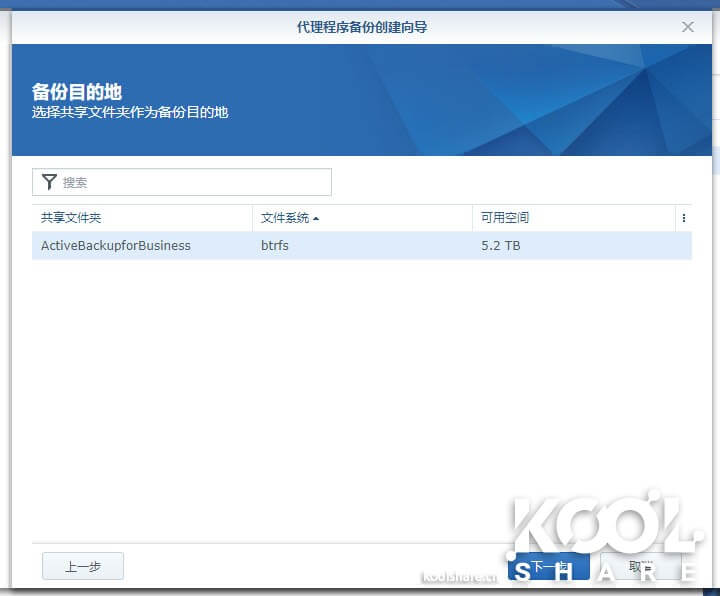
Choose the backup destination. If there are multiple storage spaces, you can select one here.
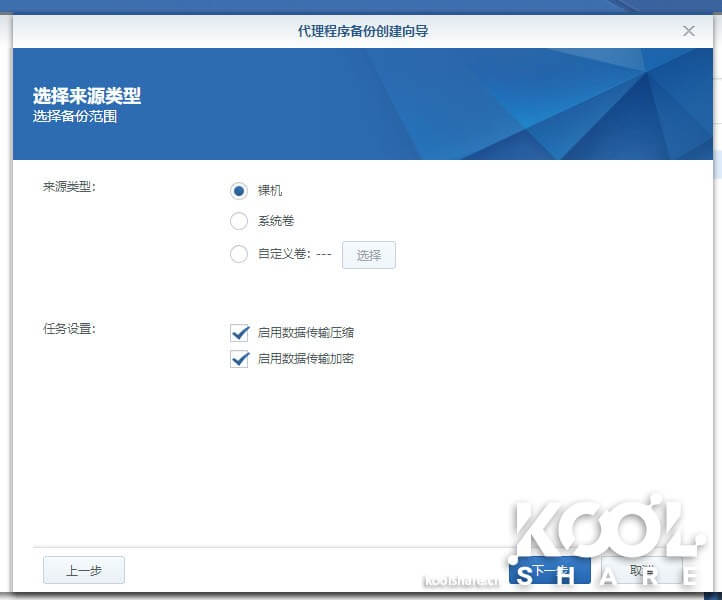
Here you define the backup type: you can back up the entire disk, the partition where the system resides, or even customize which partitions to back up.
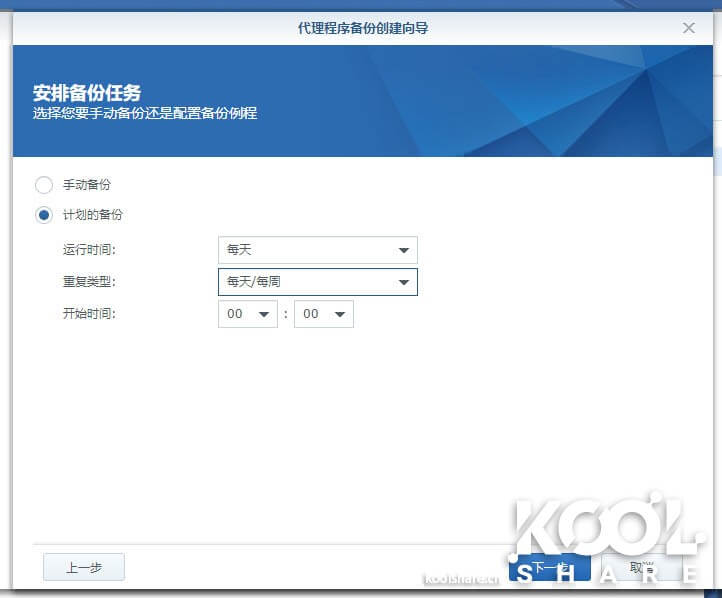
Specify the backup frequency; here we set it to back up every day at 0:00.
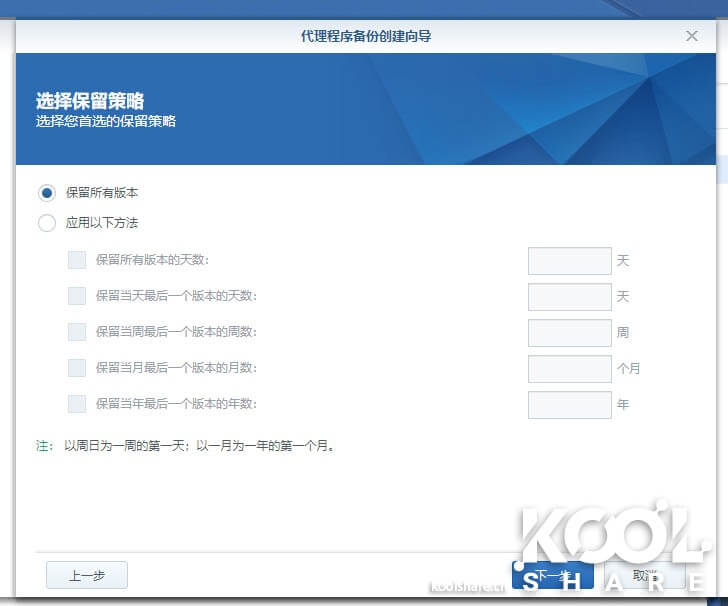
Finally, set the number of backups to retain here. This follows the same idea as the Synology backup suite you may have used before.
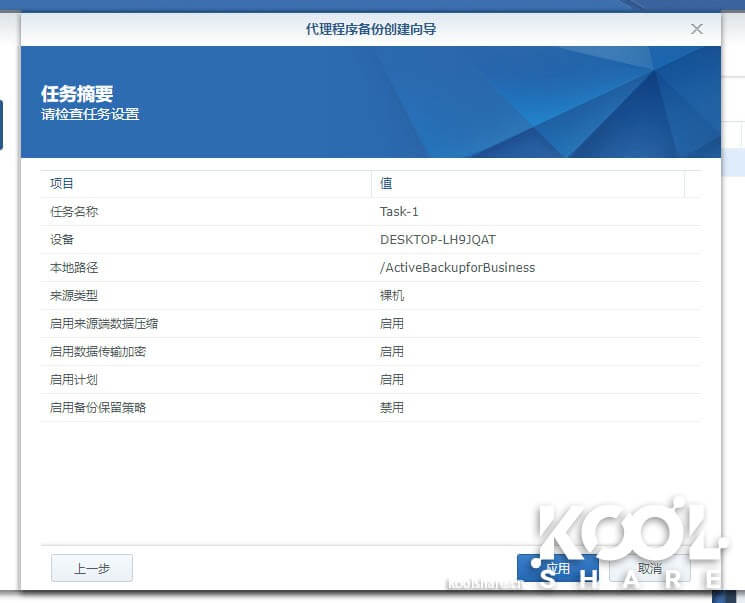
Finally, the detailed policy information is presented for your confirmation. Once you confirm and save, the automatic backup mechanism starts.
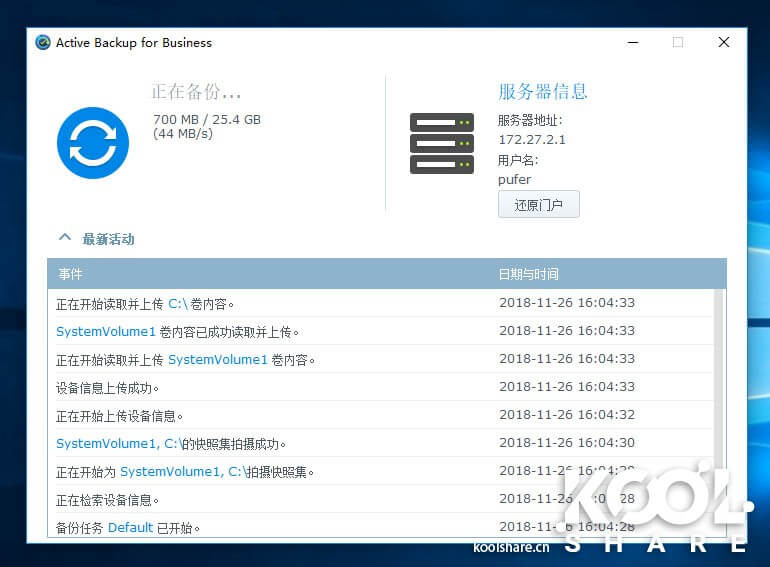
Let’s start the first backup. The Agent will show what is currently being backed up and the backup progress. The first backup covered 26 GB of data and took a little over 10 minutes. Active Backup for Business is remarkably fast.
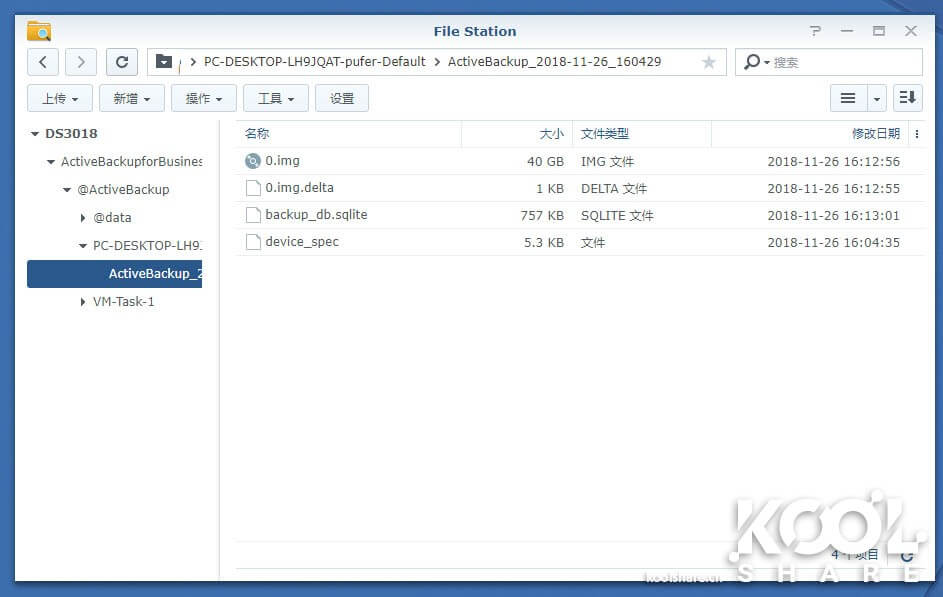
After the backup is complete, you can see in FileStation that the backup is stored on the NAS as a single img file.
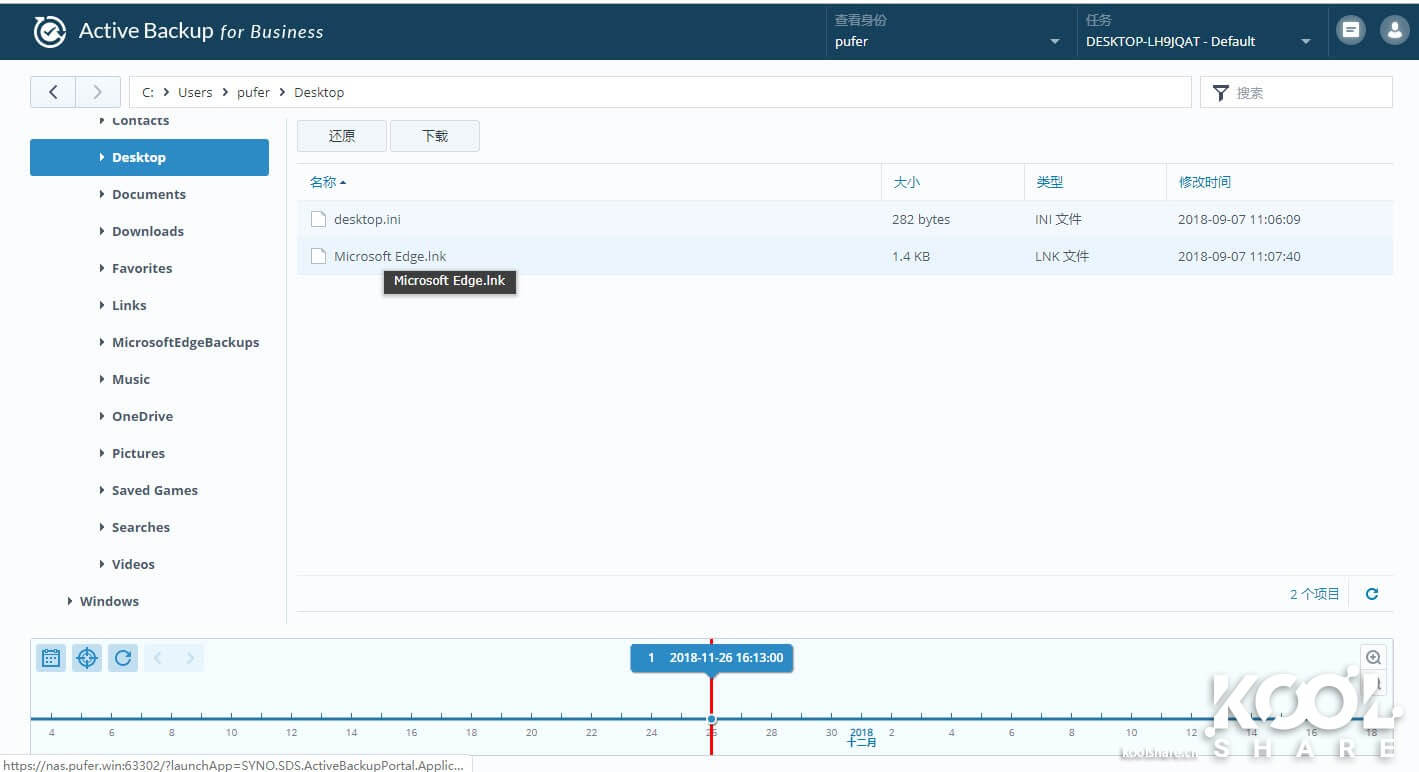
You can use the Active Backup for Business Portal to view files in the backed-up disk image.

Via the timeline, you can select a backup; select a file and you can either download a previous version or restore it directly.
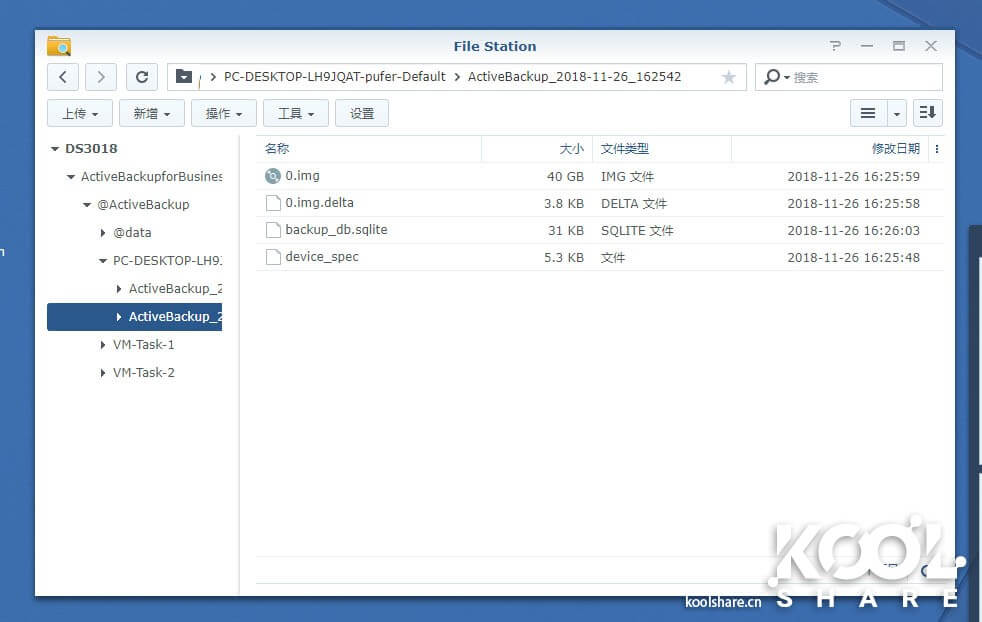
We run a second backup of this PC. From the second backup onward, Active Backup for Business performs incremental backups and no longer transfers the entire disk image. Because only a small number of files changed, the second backup completes almost instantly.
Let’s look at the data from the second backup in FileStation again. In FileStation it is still a large 40 GB file, but thanks to the COW (copy-on-write) feature of Btrfs, the space it occupies is only the difference, not the full file.
In the storage space section of the Active Backup for Business management interface, you can view the current space used by backups and control the file space that can be released.

2. Restoring the system from scratch
Although the Active Backup for Business Portal can conveniently help us restore documents and data, a full restore is required when the system crashes and cannot boot. That is where Synology Active Backup Recovery Media comes in. Here we first use Synology Active Backup Recovery Media to create a recovery disc, then restore the Active Backup for Business backup on a brand-new computer.
Synology provides a tool for creating a recovery USB drive or a recovery ISO disc, which can be downloaded from the official Synology website. Here we take creating an ISO image as an example; select the location where the image will be stored.
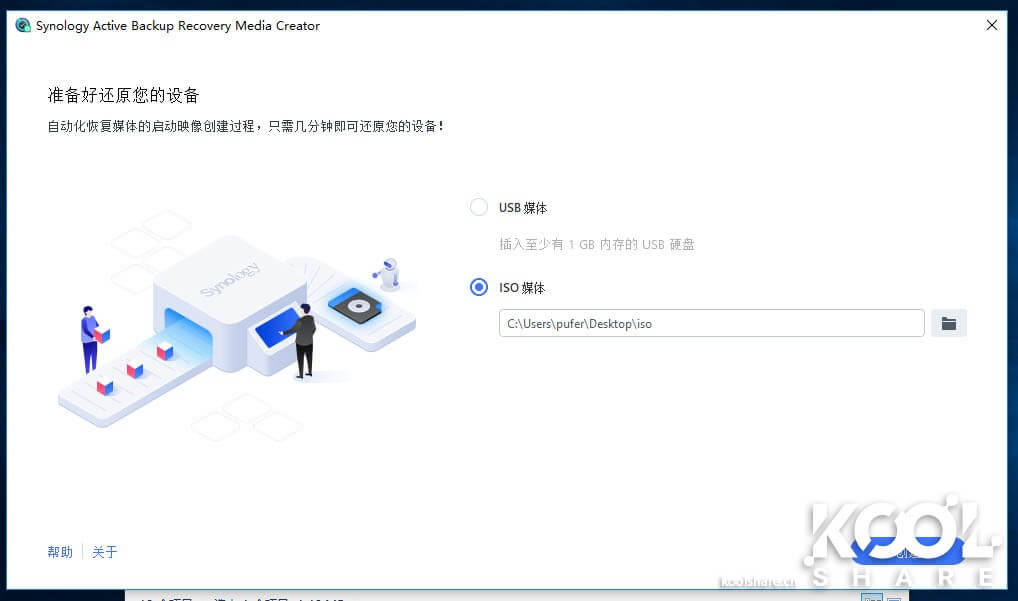
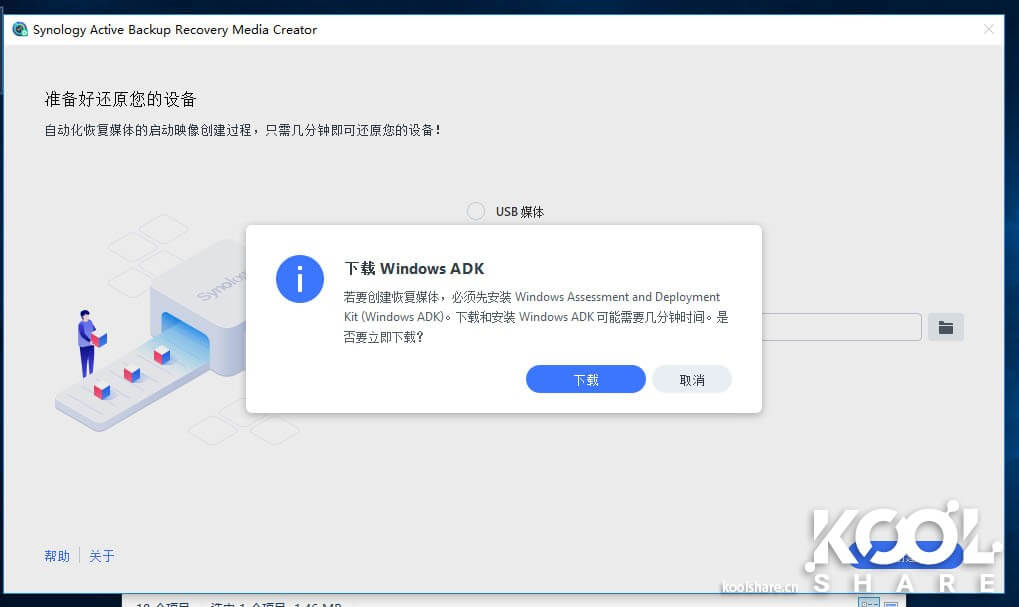
The tool prompts that Windows ADK is required to create the PE environment. We click Download, and the download starts automatically and installation begins.
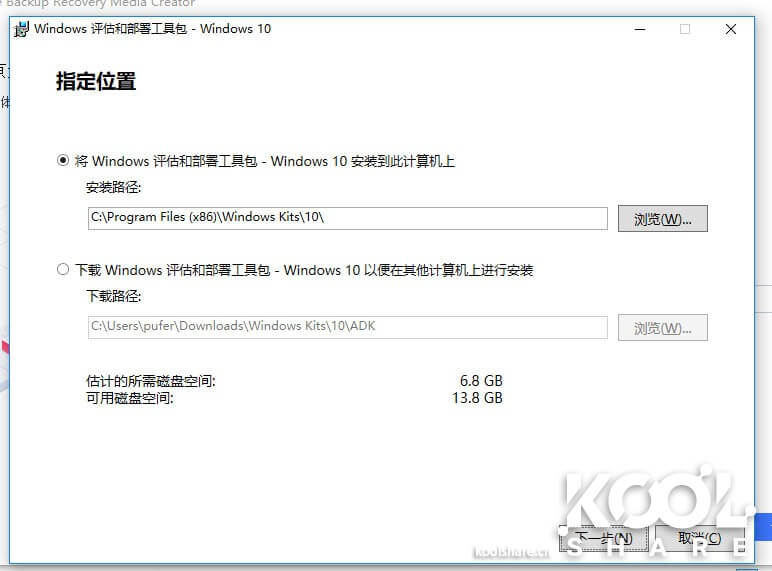
Keep the default settings for the Windows ADK installation and simply click Next.
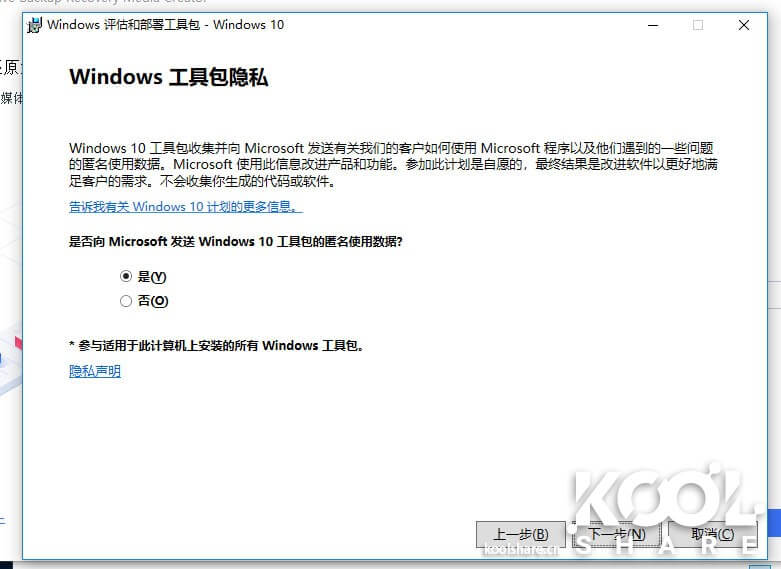
Confirm the privacy agreement.
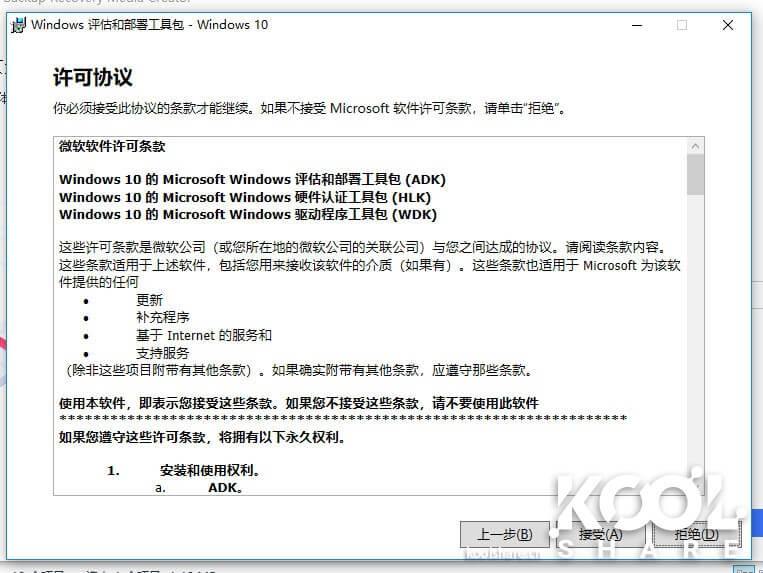
Agree to the user license agreement.
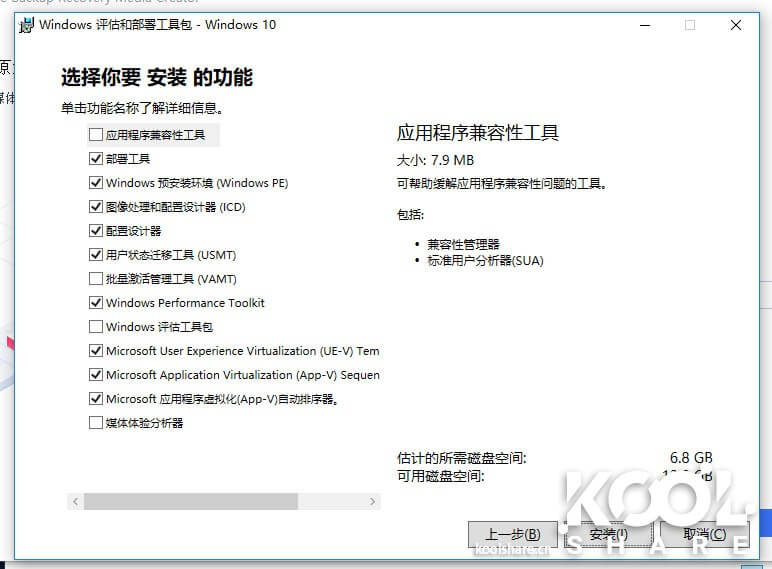
Keep the default options in the Features section.
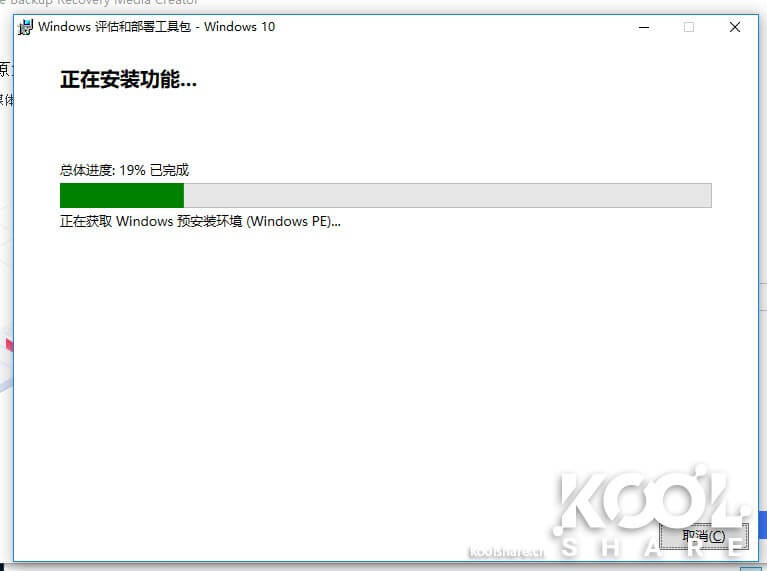
Windows ADK has started downloading and installing. Due to the network conditions in China, this installation may take quite a long time. We provide an offline installation package here for your convenience.
After a long wait, the installation is complete.
Back in Synology Active Backup Recovery Media, click Next and the image starts being created — another wait.
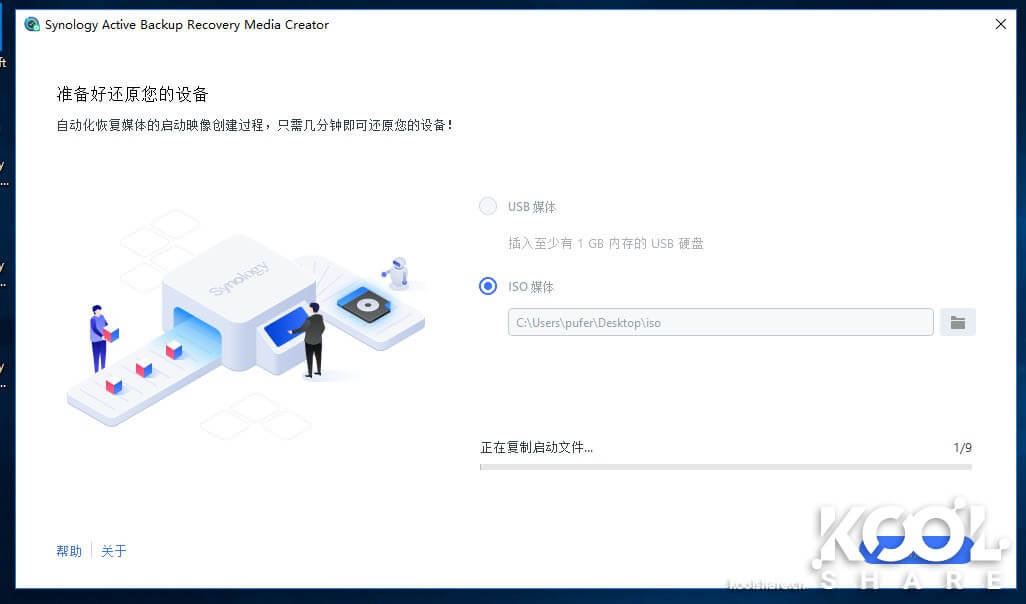
In the end, a 374 MB ISO file is generated, which can be used for system recovery.

Open the ISO and you can see the standard WinPE directory structure.
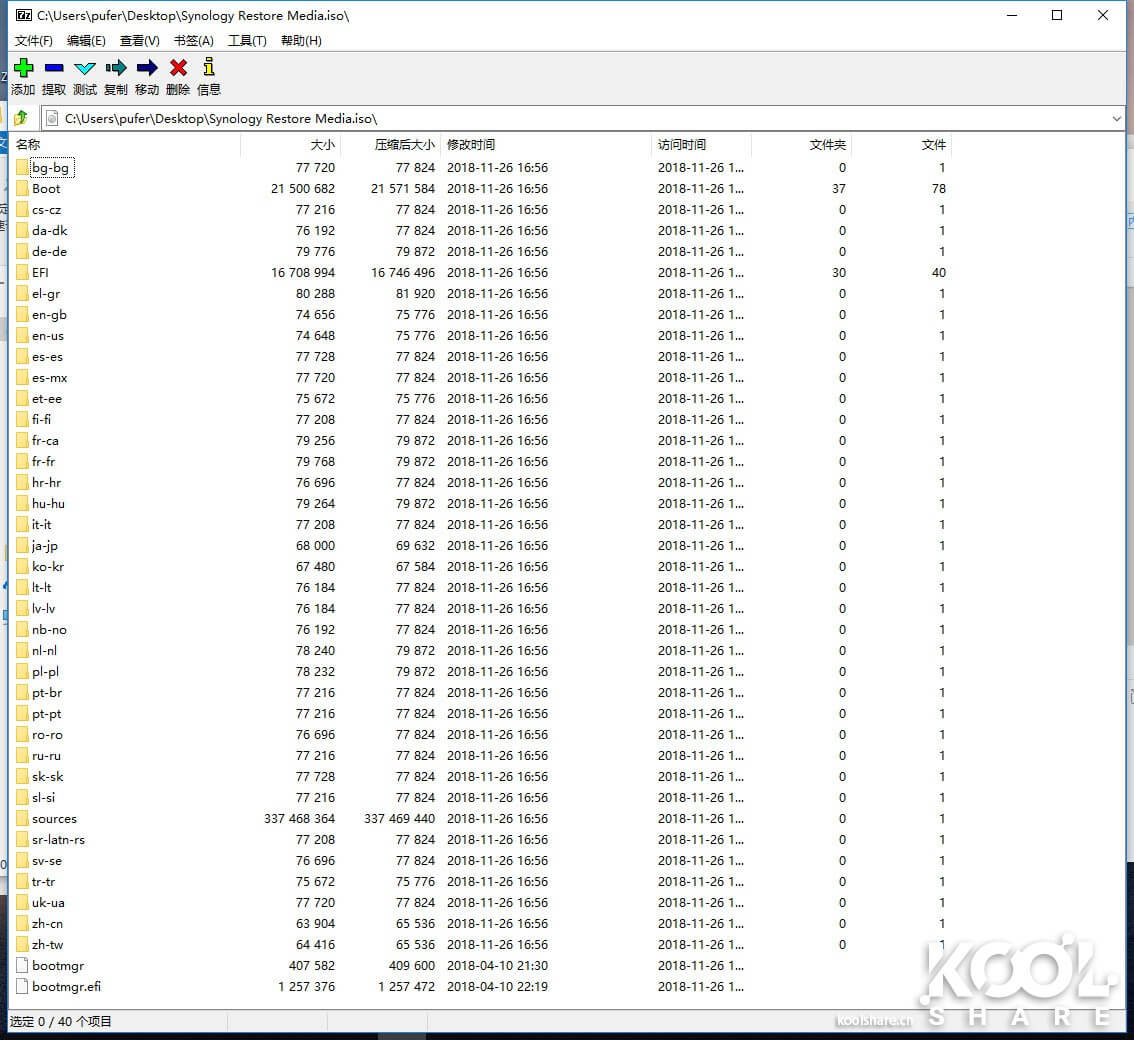
That completes the ISO creation; the bootable USB drive works the same way, so we won’t go into detail here. If you’d rather skip the hassle, you can simply download the ISO I have already generated and use it directly.
Once the ISO is generated, boot the computer from it and you will see the Synology welcome screen.
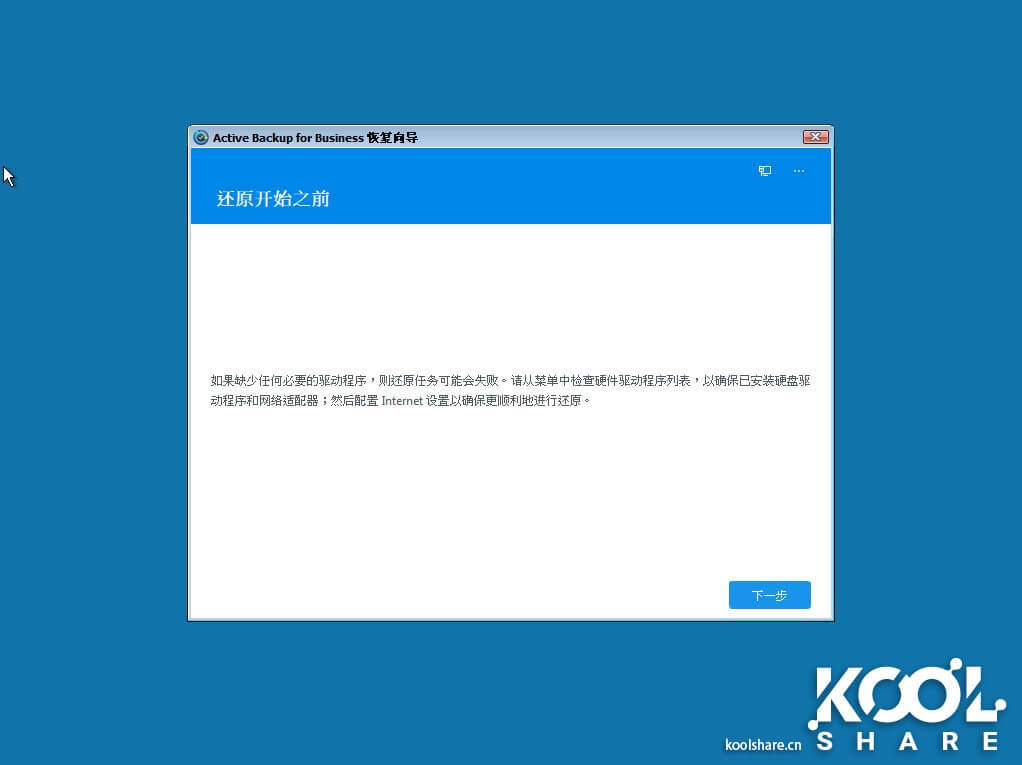
A pop-up menu in the upper right corner of this screen lets you configure this PE.
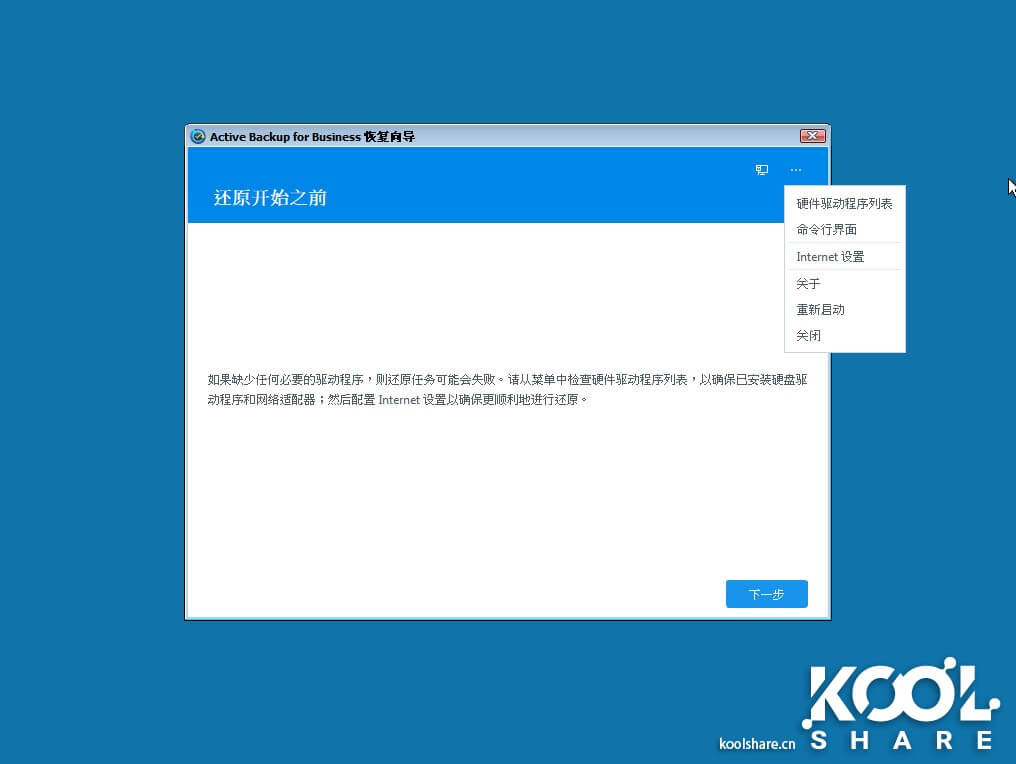
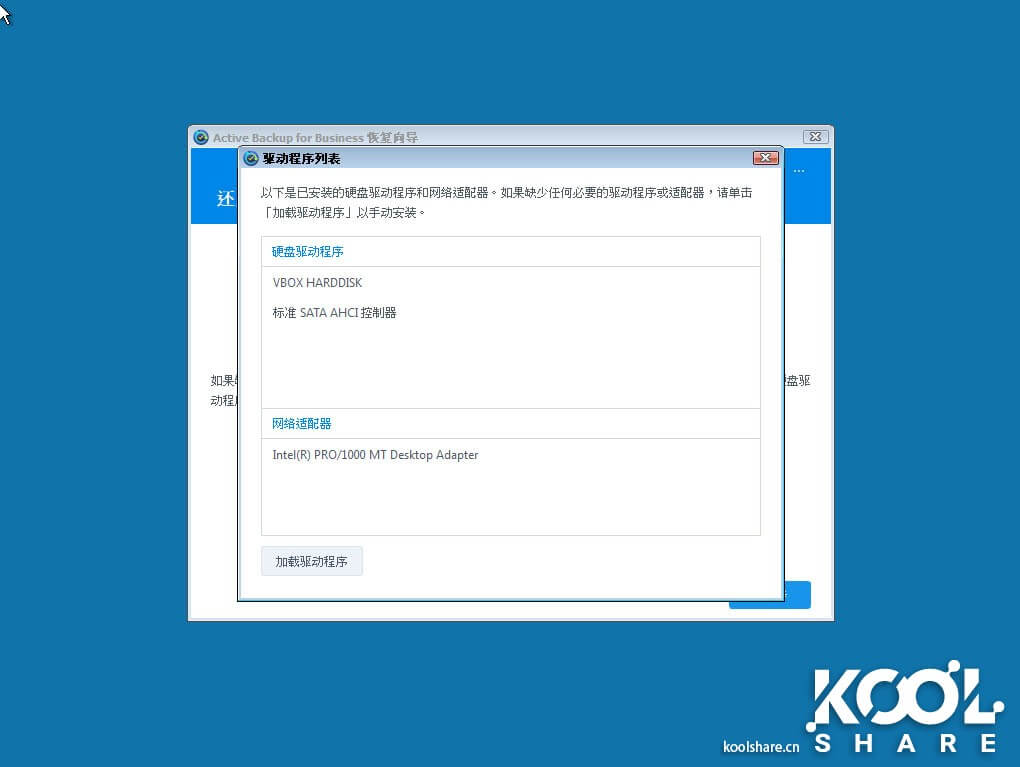
Here you can load INF driver files directly to recognize disks and network adapters that the PE does not support.
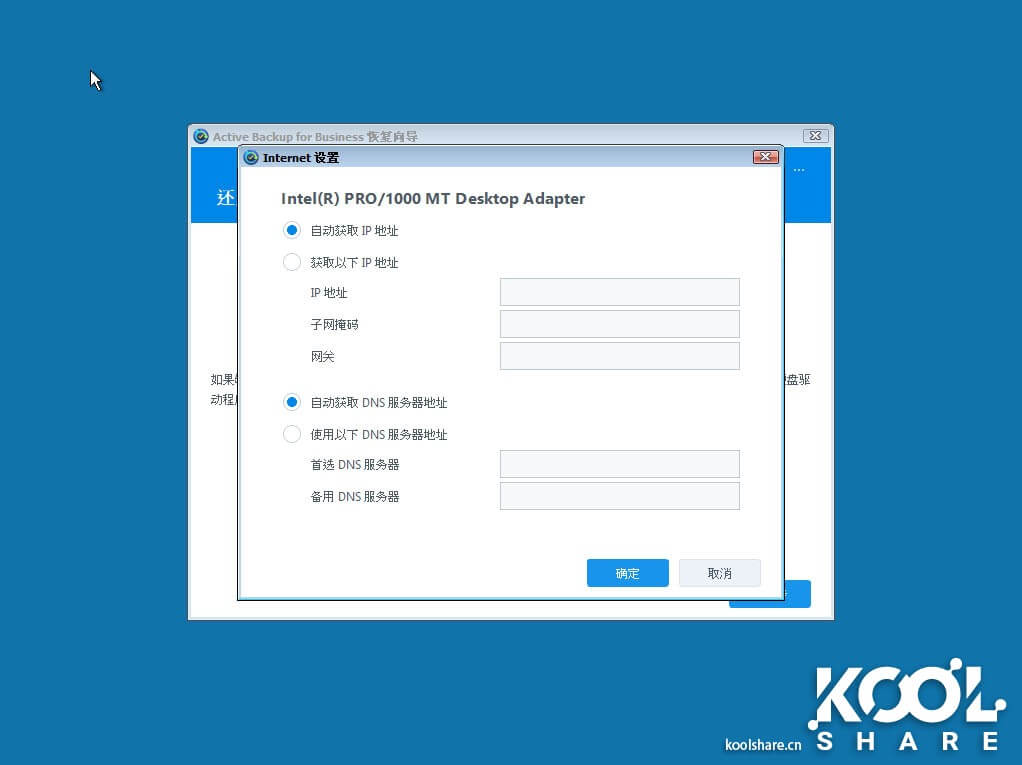
You can likewise configure an IP address for this PE; here we connect via DHCP.
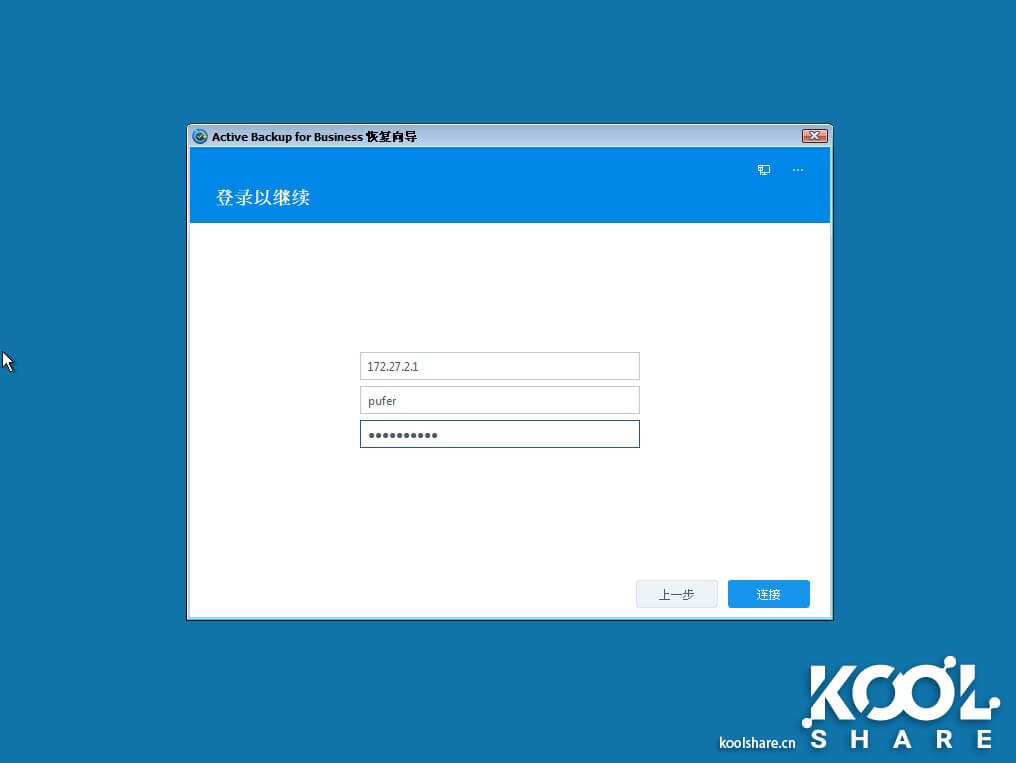
Once the PE settings are complete, the next step is to enter the NAS connection and account information. Connect to the NAS.
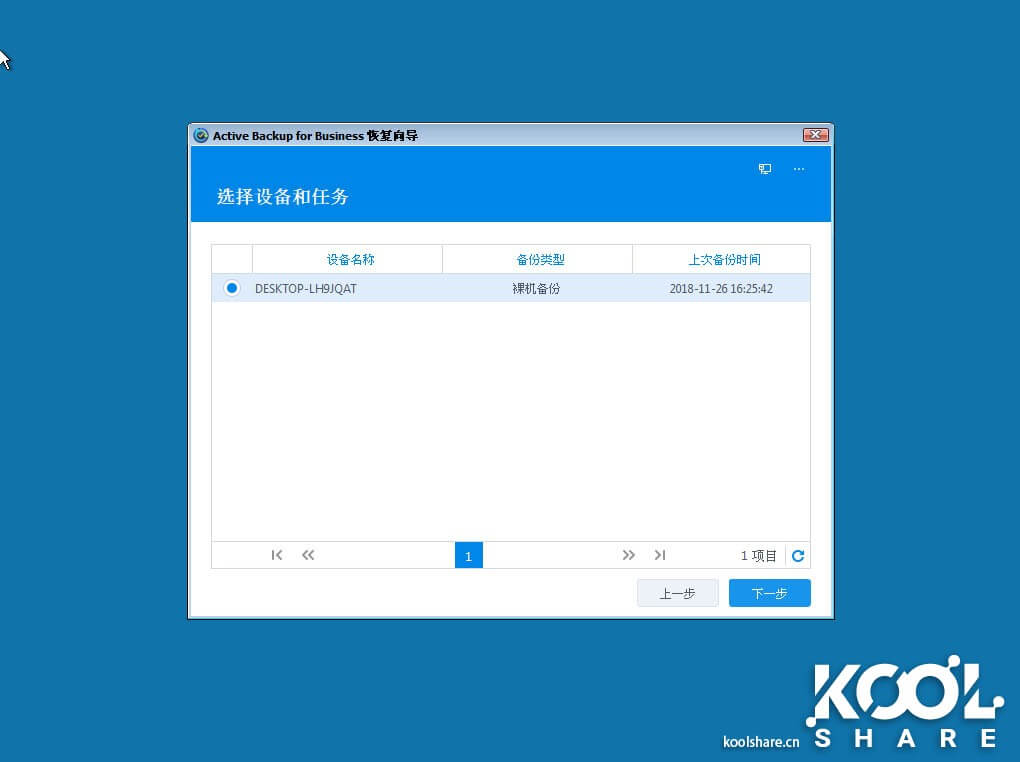
Select the PC you need to restore.
Select the point in time to restore from and the target disk.

Select the target disk to restore to.
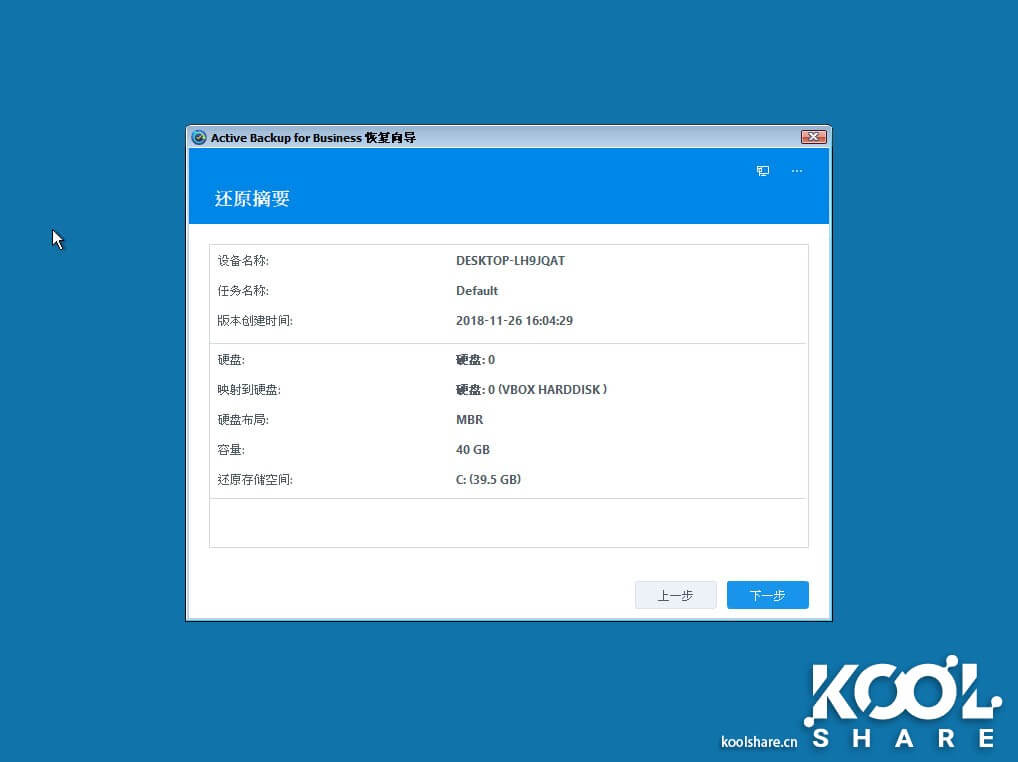
Finally, confirm the data restore. The restore process will erase the data on the target disk.
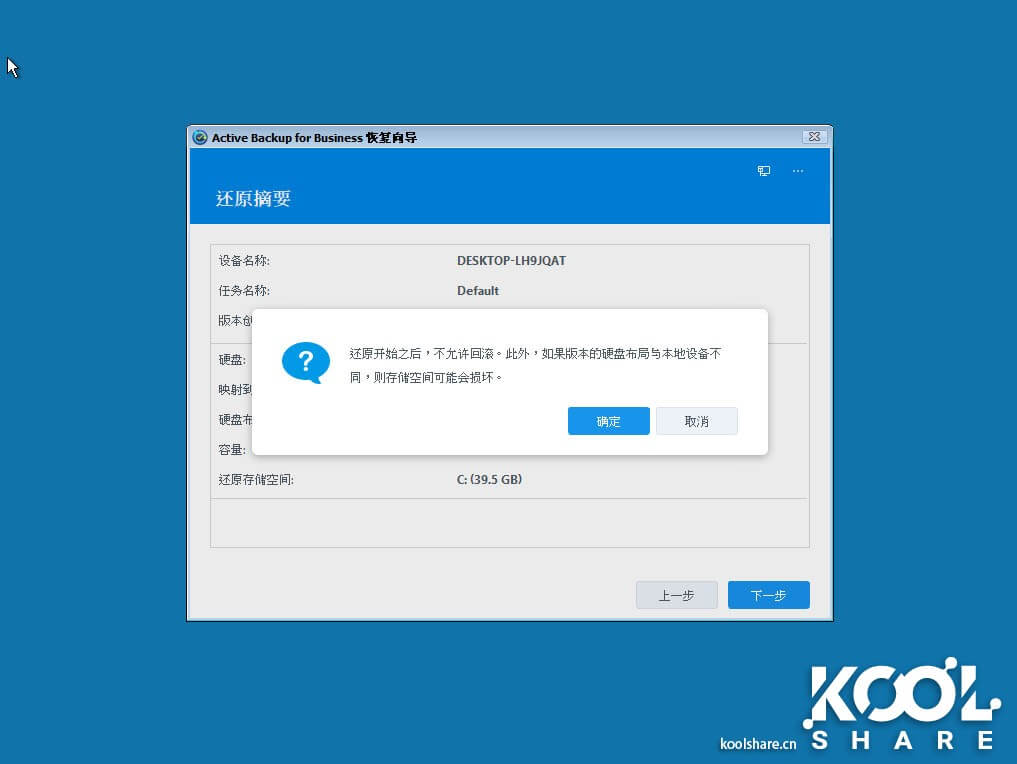
Start the data restore.
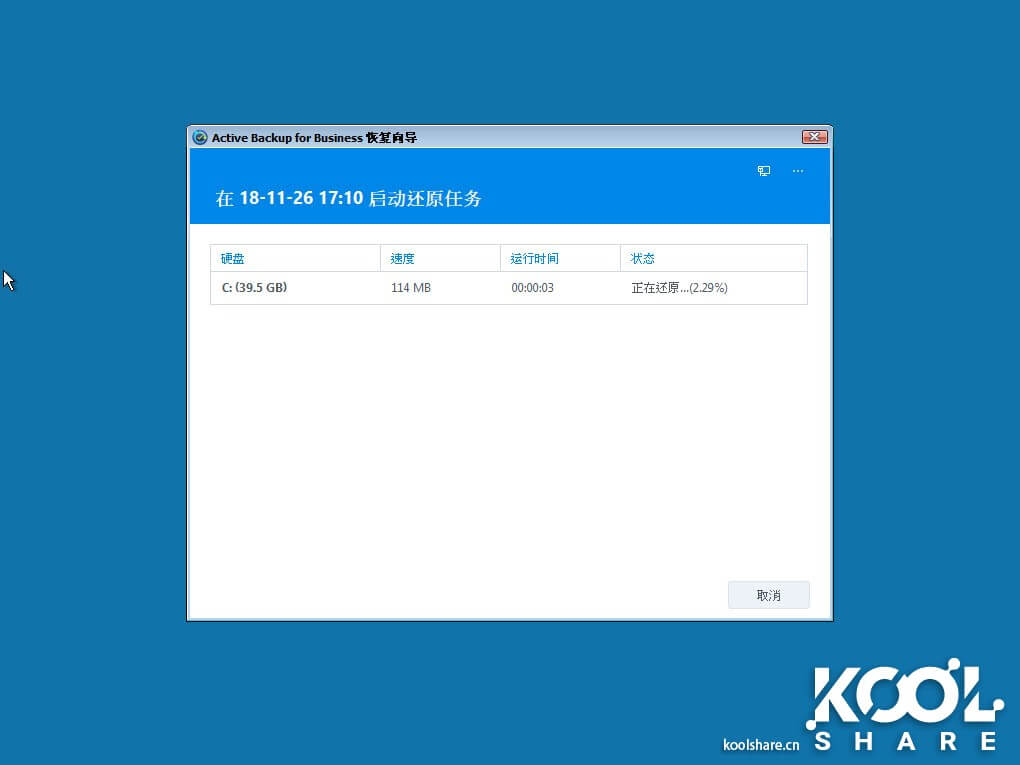
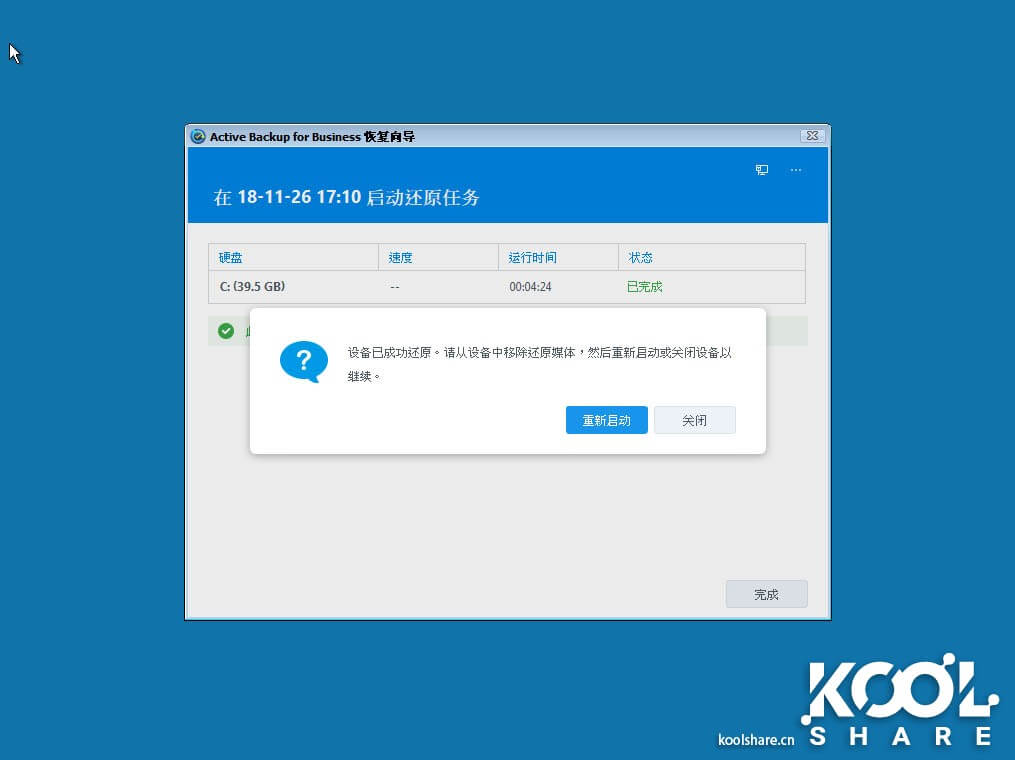
The restore is very fast, and it is complete.
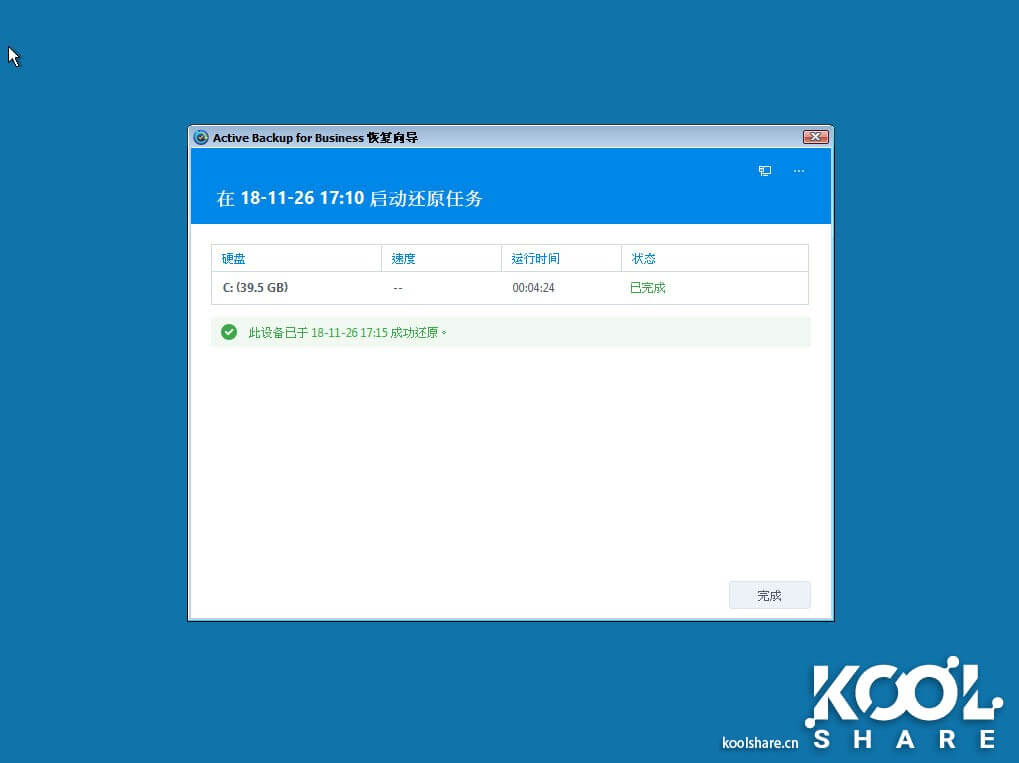
Restart the computer when finished.
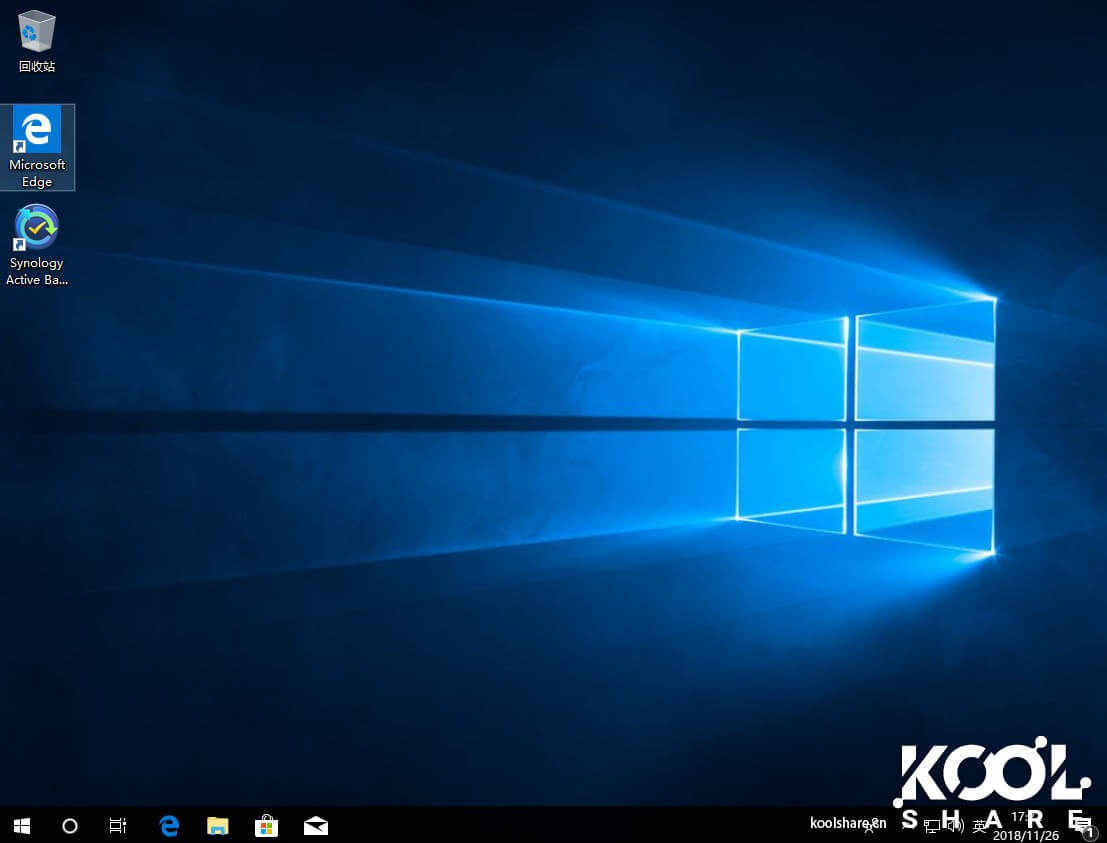
As you can see, the system boots correctly and the user files are all restored properly.
Besides backing up user data, PC backup and restore can also be used for rapid OS cloning. This feature lets you install operating systems in bulk.
Simply back up the system of one PC to serve as a known-good template. For PCs that need reinstallation, use Synology Active Backup Recovery Media to restore the system quickly, and the operating system reinstall is done.
【Virtual Machine Backup and Restore】
If the PC backup section already got you excited, what comes next is even more exciting. Active Backup for Business fully supports VMware virtual machine backup. Both free single-node ESXi and the commercial VMware vSphere can be backed up.
VMware backup has traditionally relied on commercial software such as Veeam, which not only incurs hardware costs for backup servers and NAS but also carries expensive software licensing. Today, Active Backup for Business comes bundled with Synology NAS at no extra cost, helping you complete scheduled backup and restore tasks directly. What is more, virtual machines can also be restored to the Synology NAS as an emergency measure to keep business running without interruption.
1. VMware Virtual Machine Backup
Using VMware vSphere as an example, connect to the vSphere vCenter.
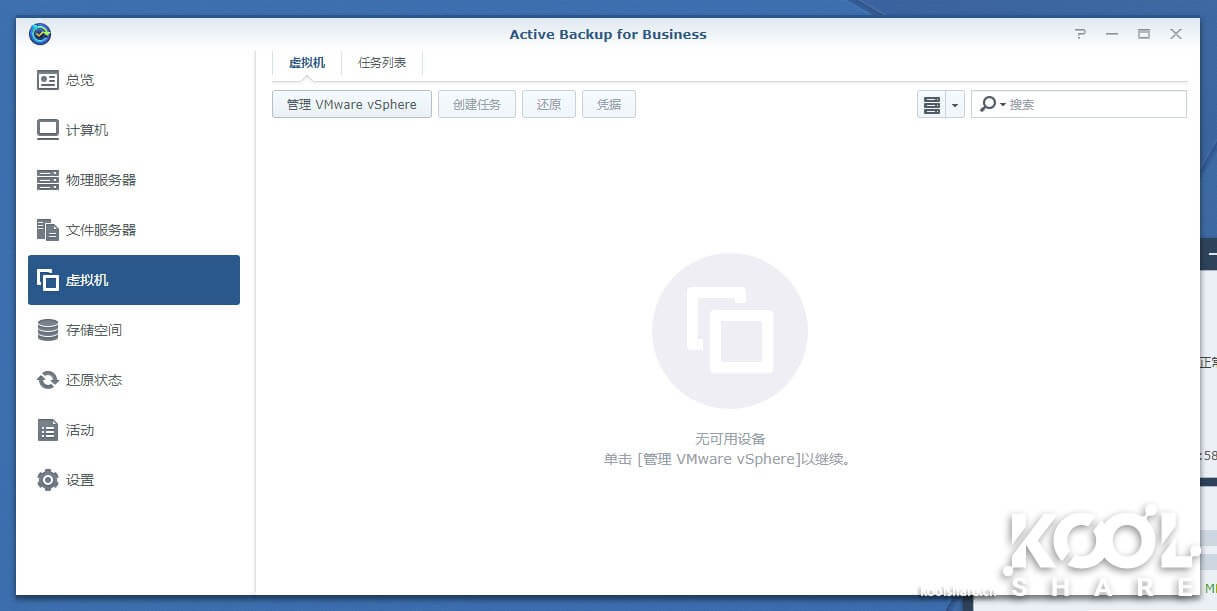
In the Manage VMware vSphere screen, select Add.
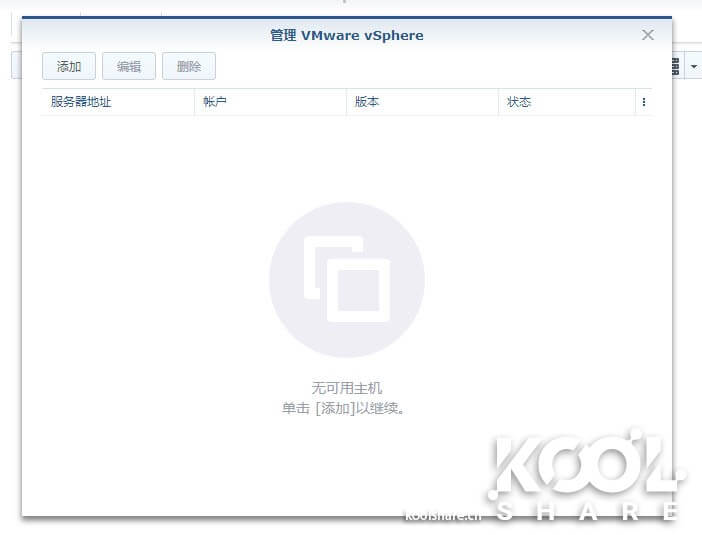
Enter the vCenter connection information and the connection account.
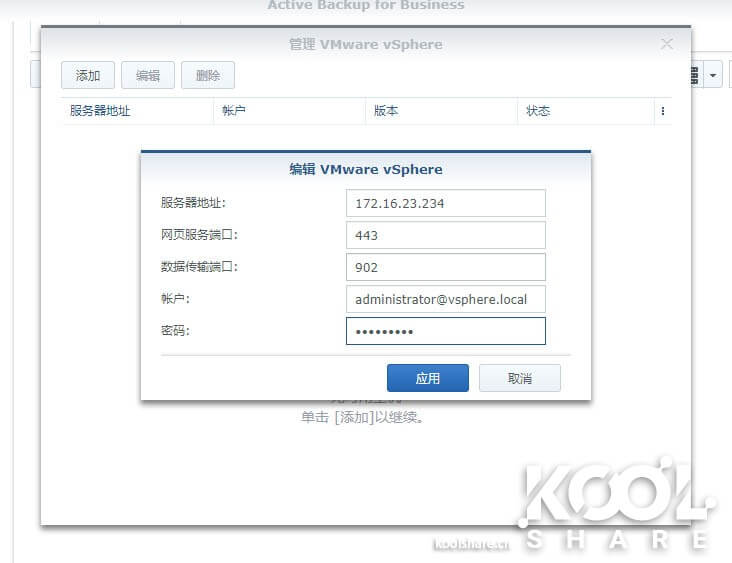
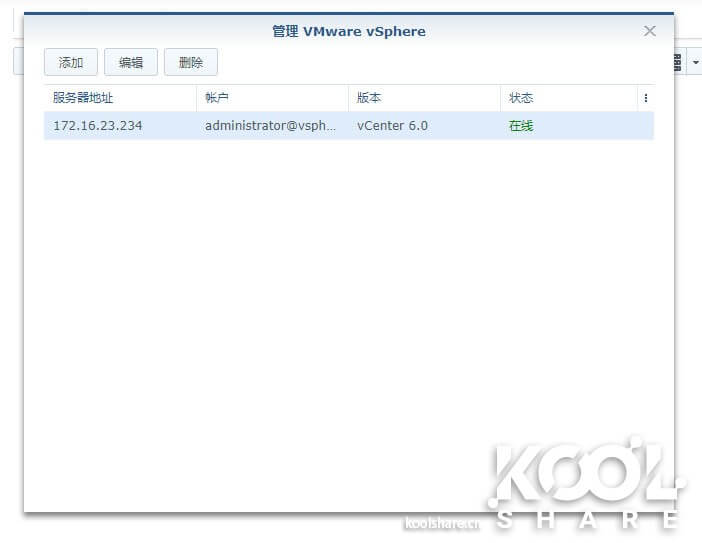
After confirmation, Active Backup for Business correctly recognizes the vCenter and its version number, 6.0.
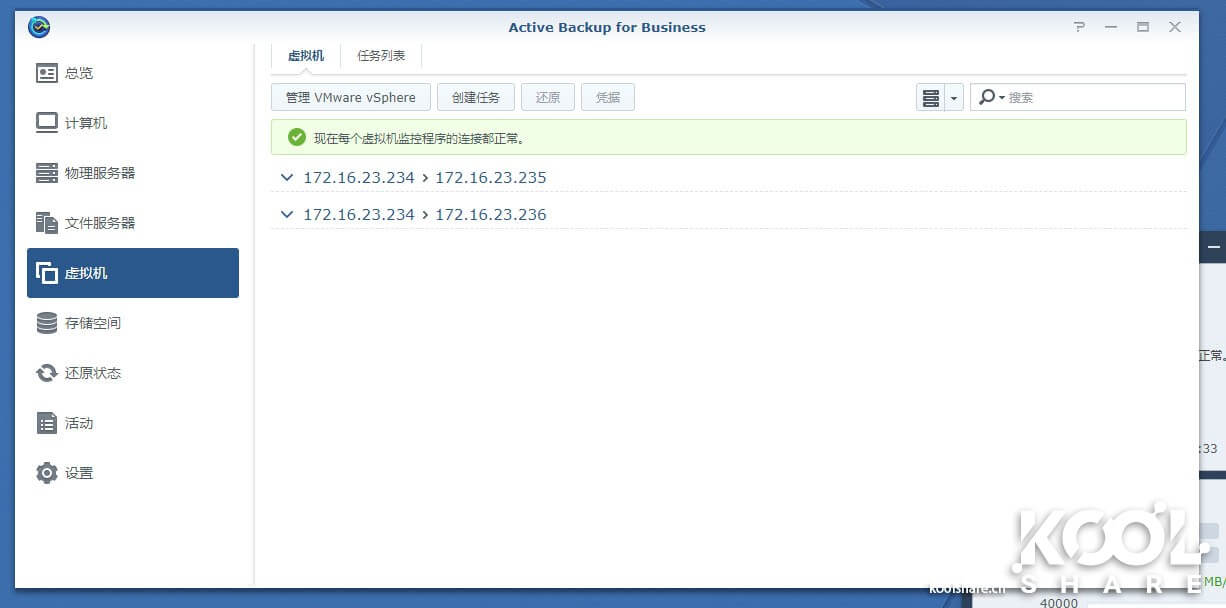
Back in the virtual machine backup screen, Active Backup for Business has recognized the vCenter IP address and the IPs of the two hosts managed by vCenter. The entire vCenter is correctly recognized and accessible to Active Backup for Business.
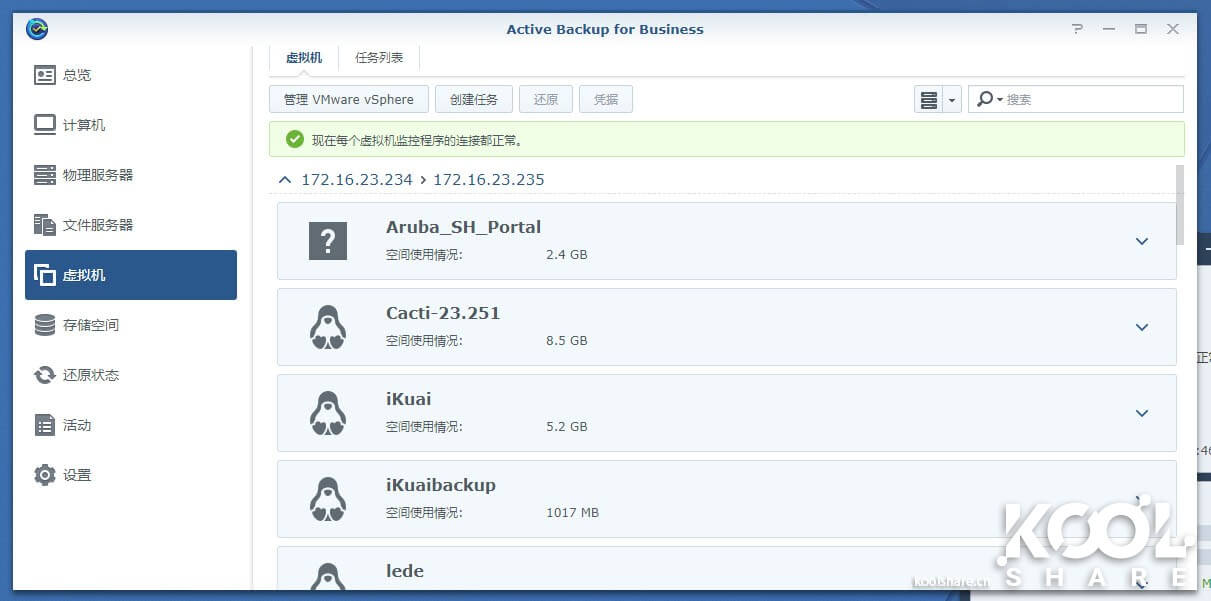
Then expand one of the hosts, and you can see the virtual machines on it are correctly recognized as well.
Active Backup for Business is very friendly when connecting to vSphere. Hobbyists, however, mostly use the free single-node ESXi, which is a bit more troublesome to connect; here is a brief introduction.
Add a server. As with vSphere, ESXi requires entering the connection information.
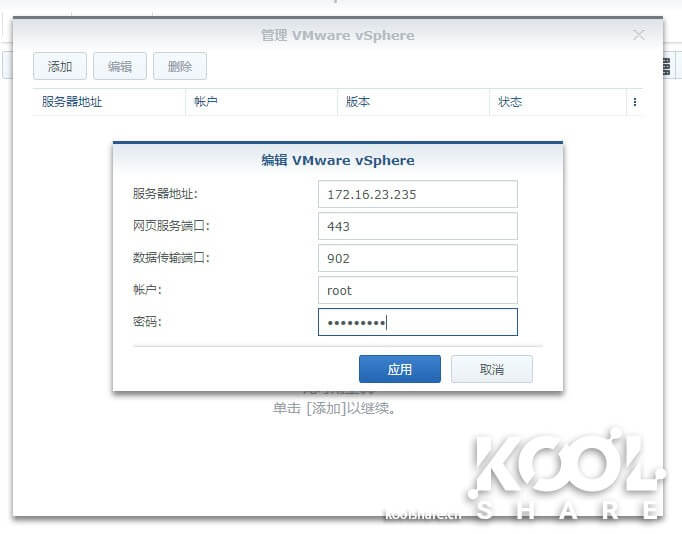
The difference is that the free version of ESXi requires enabling the shell and SSH services for controlling ESXi.
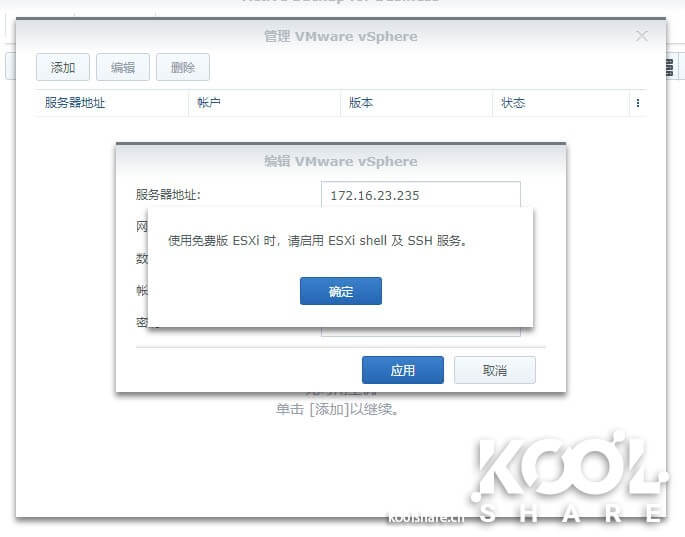
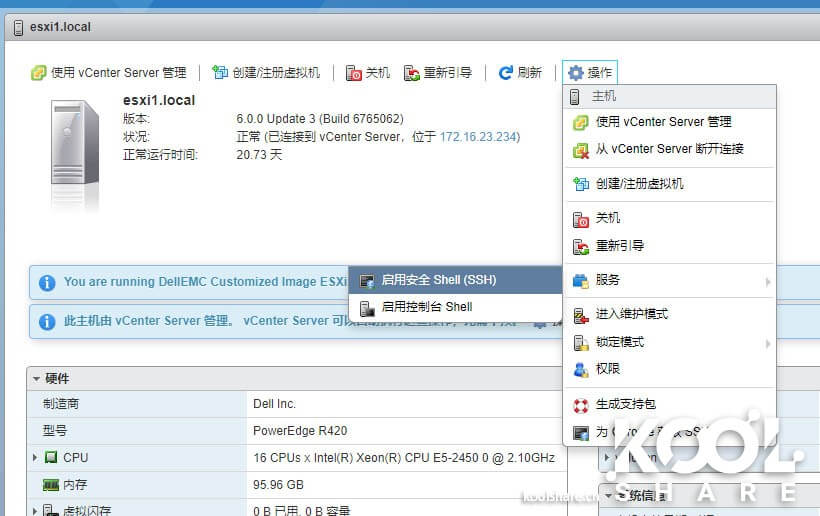
Go to the ESXi management interface and enable the corresponding options. Only ESXi 6.0 and later have a web interface; earlier versions require enabling it from the console. We will not cover enabling it on older versions here.
Only after enabling them can Active Backup for Business connect correctly and display it as ESXi 6.0.
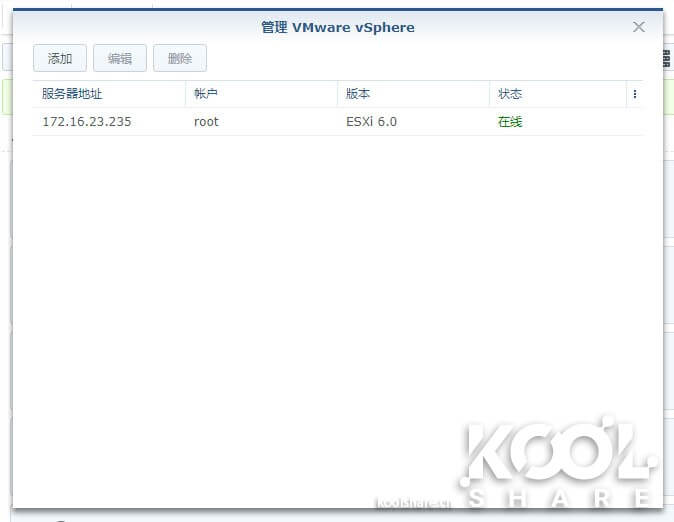
You can then see the virtual machines on this ESXi in Active Backup for Business. The subsequent backup tasks are essentially the same for ESXi and vSphere.
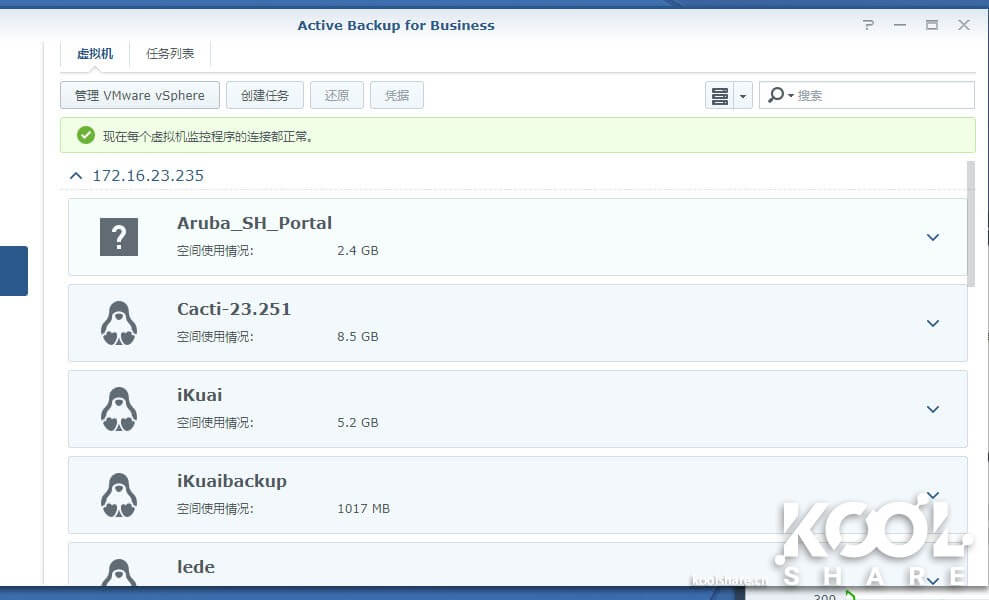
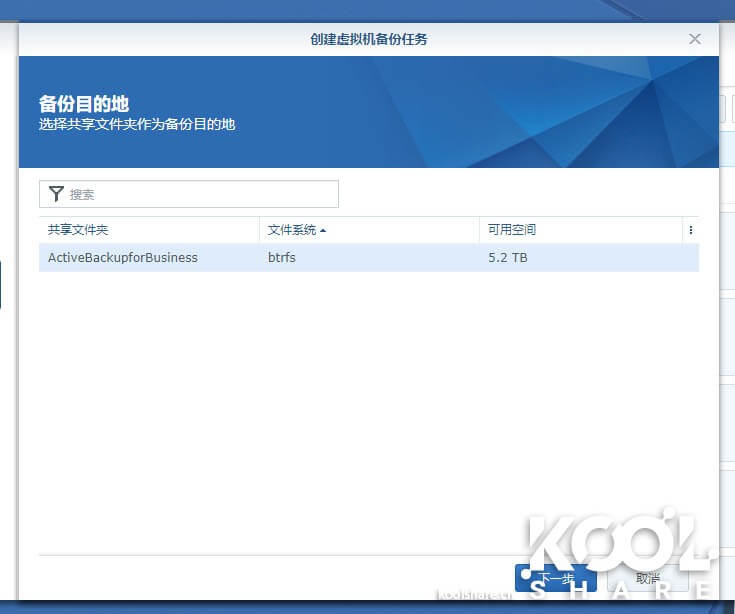
Virtual machines also need to be backed up with Active Backup for Business, which likewise requires creating a backup task. Here we create a task and select the destination storage space for the backup.
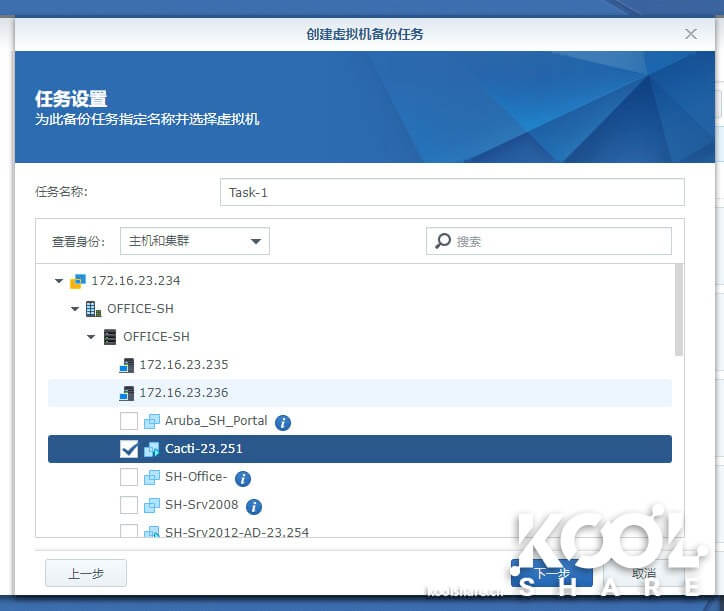
Select the virtual machines to back up. Here the cluster settings in vSphere are read correctly, and virtual machines on multiple hosts are merged into a single view. Check the virtual machines you want to back up. Virtual machines with VMTools installed can be snapshotted safely; for those without it, a warning message will appear.
In the backup task settings here, you can limit the number of simultaneous backup tasks and configure other backup-related options.

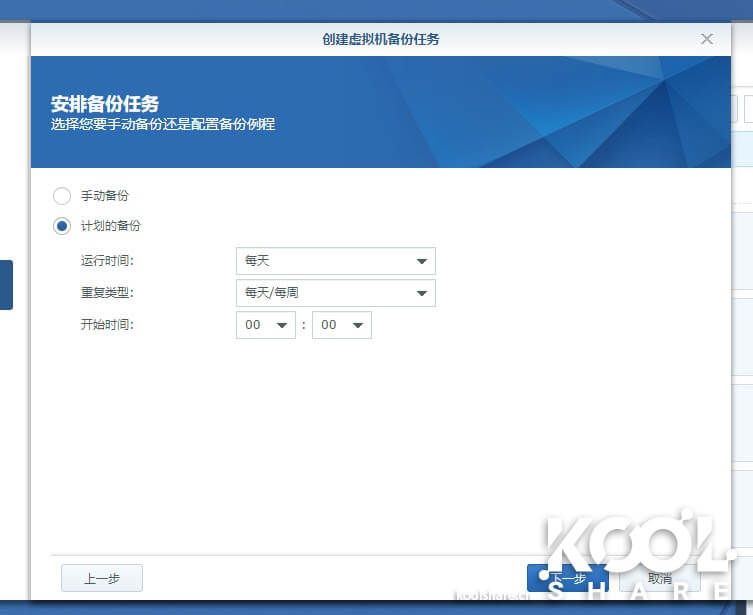
Set the backup schedule; this is the same as for the PC backup described earlier.
Set the backup retention policy.
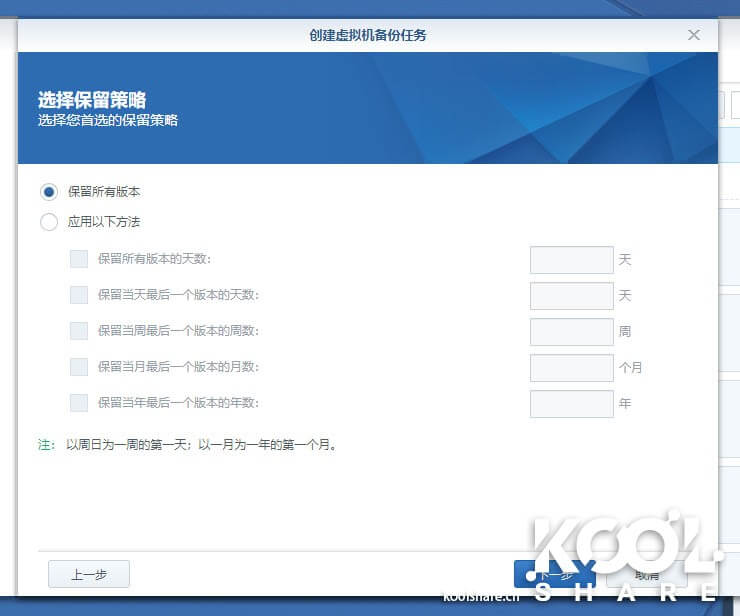
Finally, confirm the backup task, and the entire backup policy is complete.
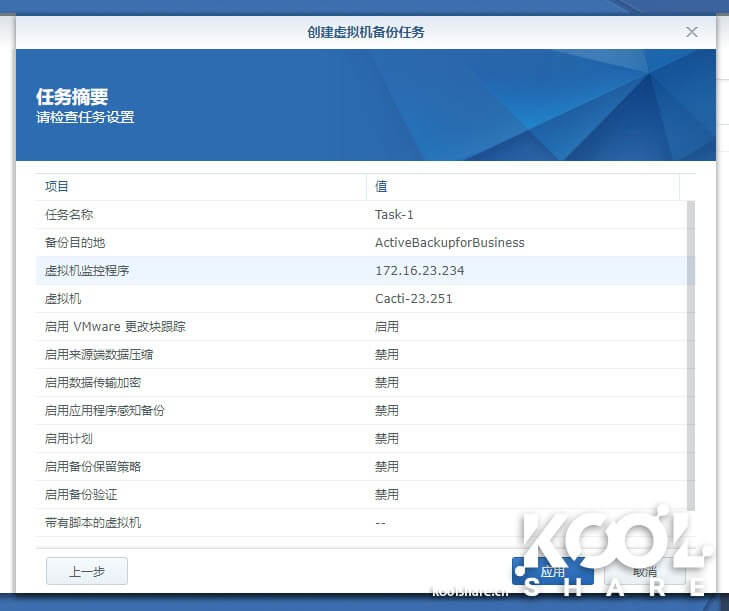
Once the backup policy is complete, you can start backing up the virtual machines. VMware has no Agent, so backup progress can only be viewed within Active Backup for Business, and it is very fast.
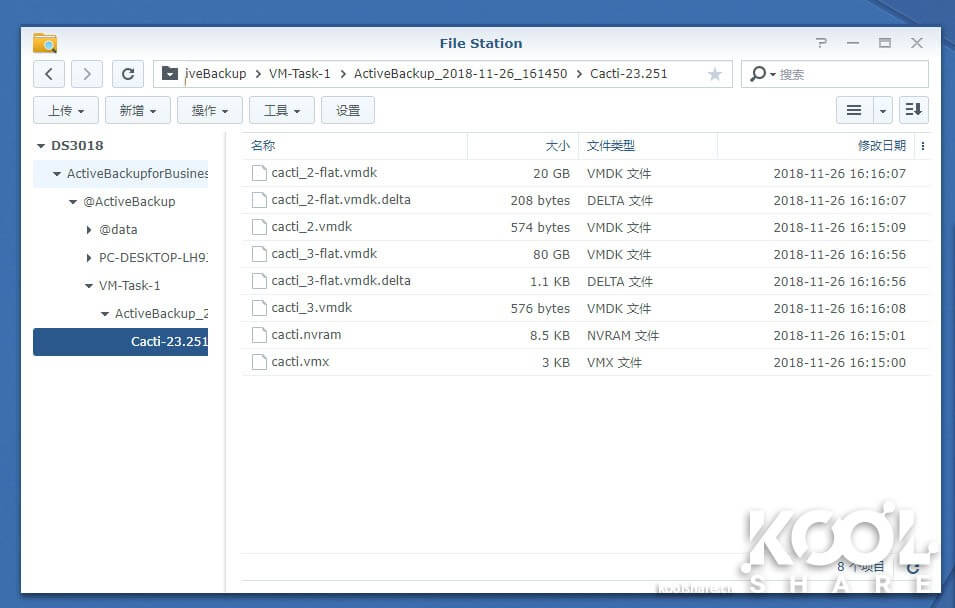
Here let’s look at the backed-up files under File Station; they are saved in vmdk format. Even if VMware crashes, these files make it easy to manually restore virtual machines.
You can also use Active Backup for Business Portal to view files within the backed-up disk images.
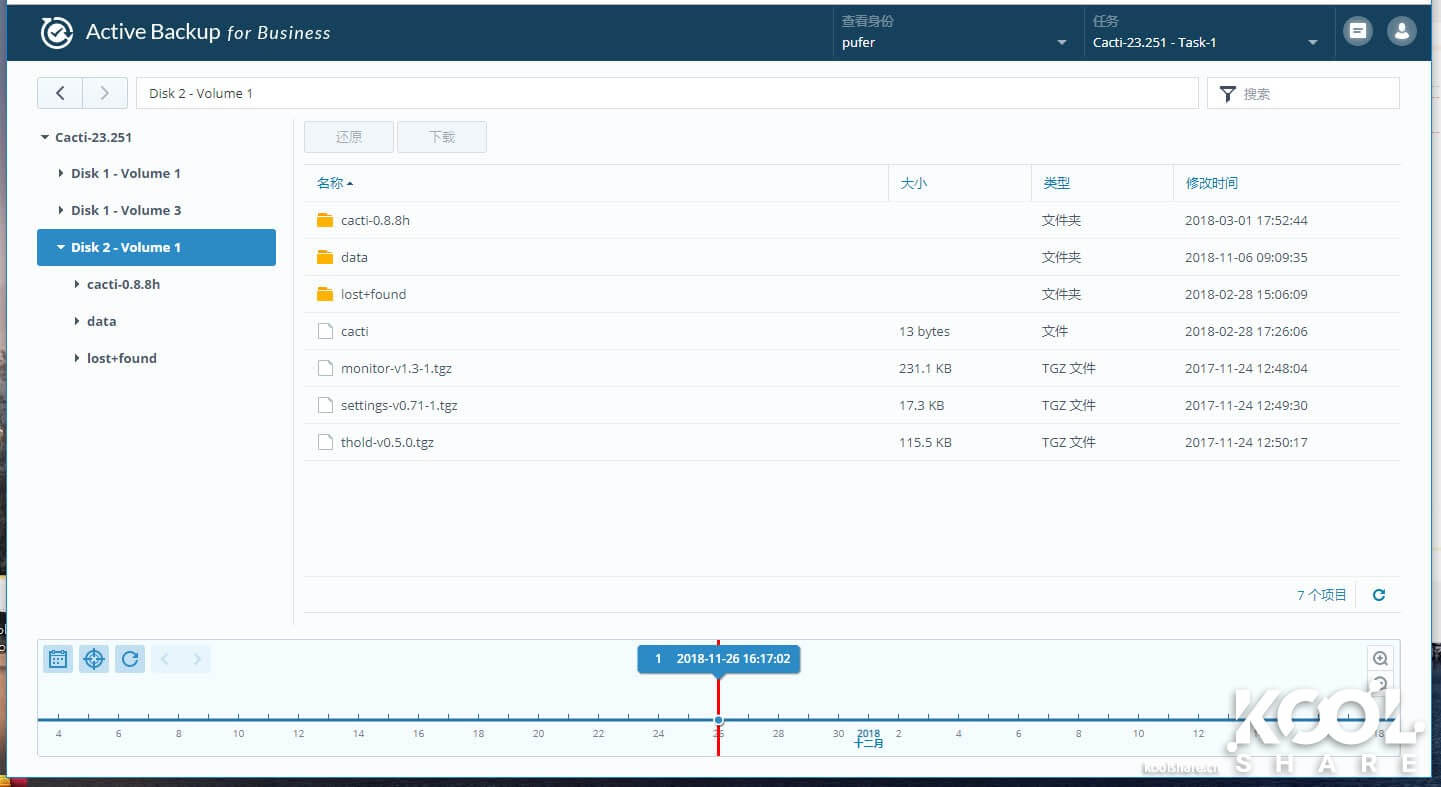
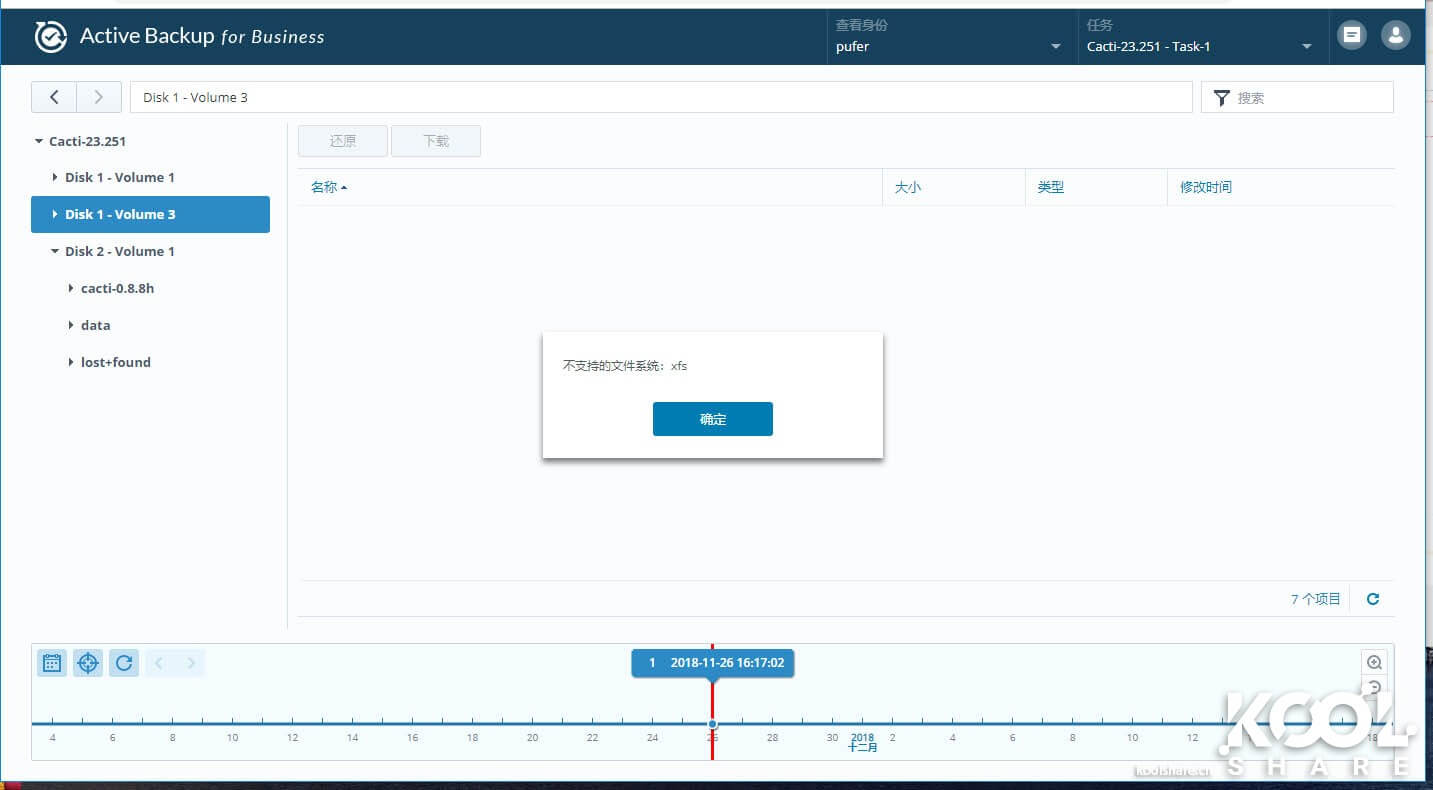
Because the XFS file format used by default in CentOS 7 is not supported, Active Backup for Business cannot view the data inside some disk images.
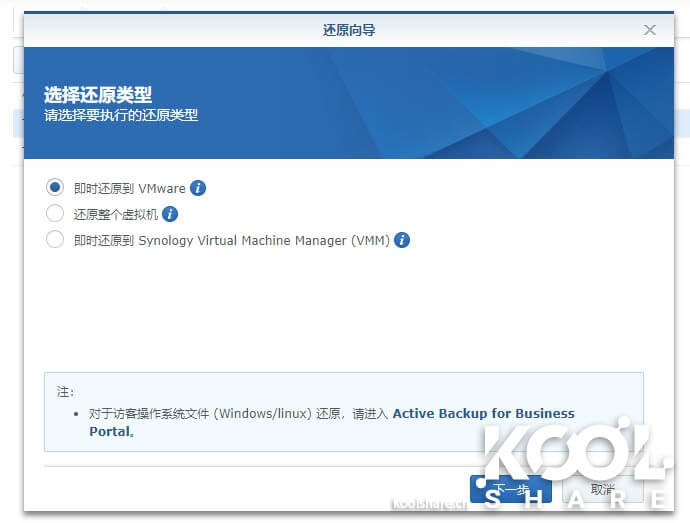
II. Restoring Virtual Machines to VMware
Active Backup for Business can restore virtual machines directly to VMware.
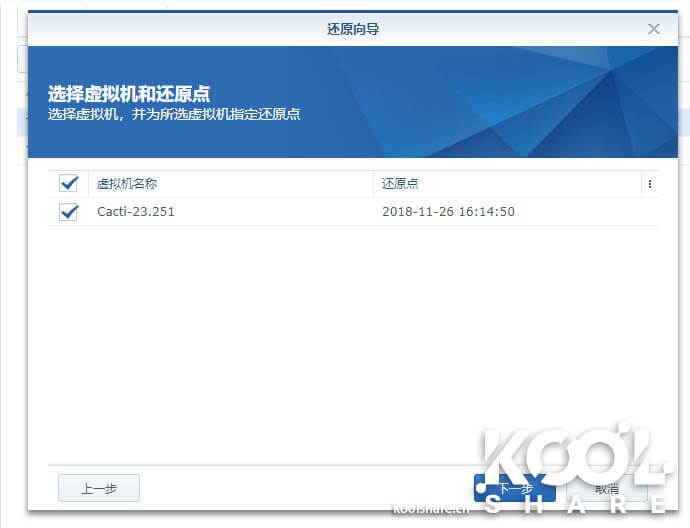
Here we select the virtual machine backup we want to restore.
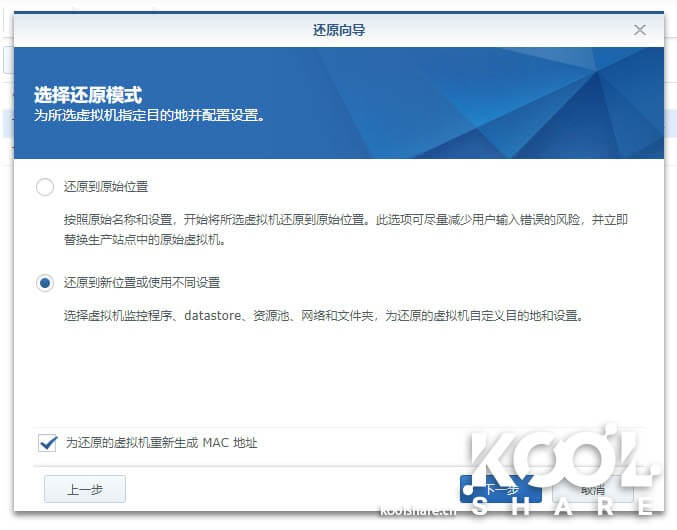
There are two restore modes: directly overwrite the original virtual machine, or create a new virtual machine.
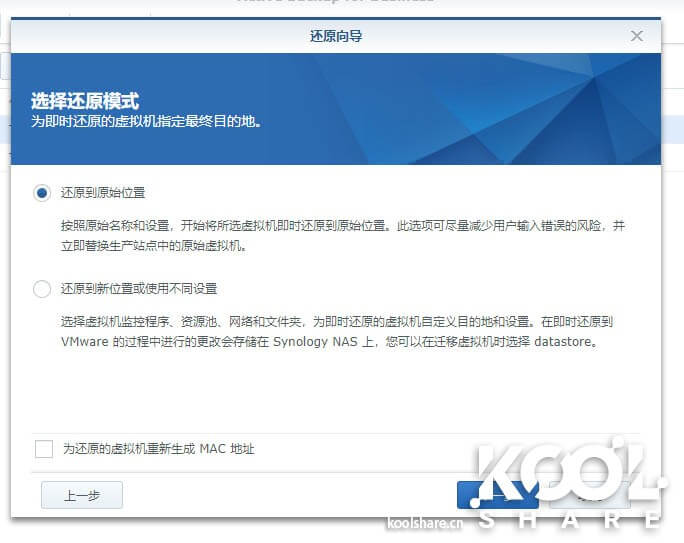
If you choose overwrite, you simply confirm the information, and then Active Backup for Business begins the restore and automatically powers on the virtual machine afterward.
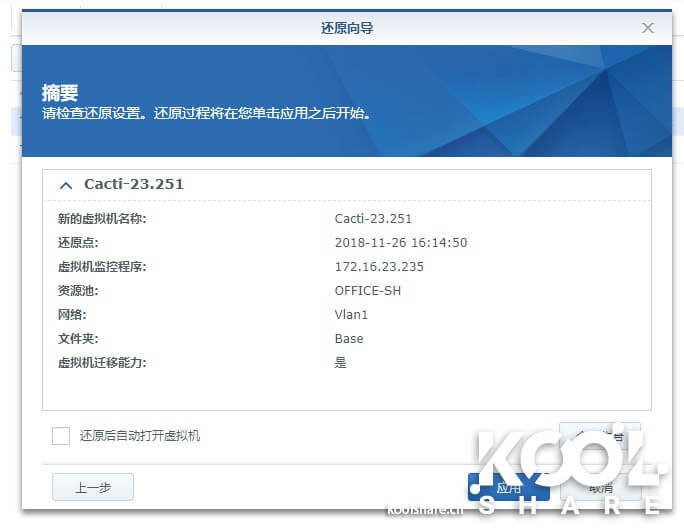
If you choose to restore to a new virtual machine, Active Backup for Business will create a new virtual machine.
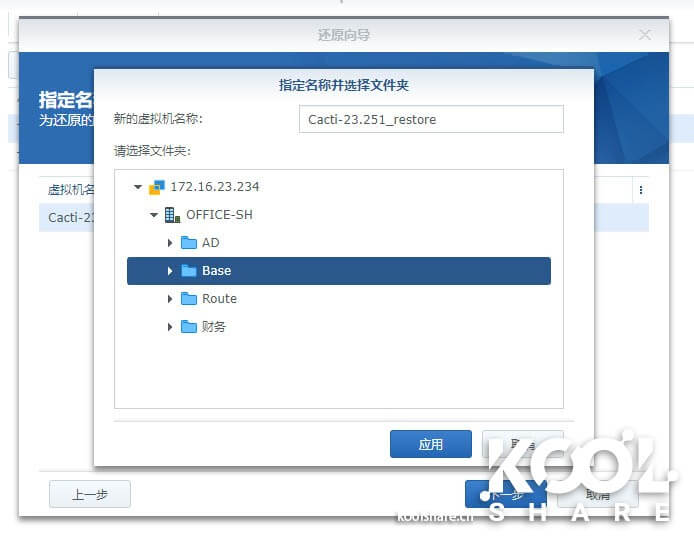
You can specify in Active Backup for Business which virtual machine folder in vSphere to restore to.
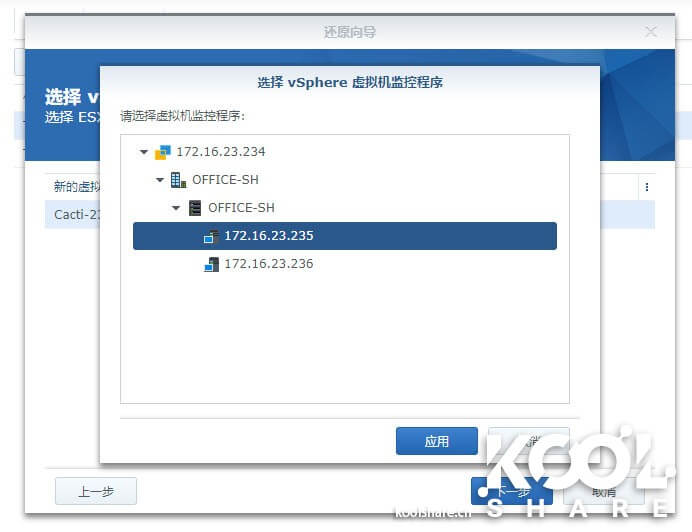
You can specify in Active Backup for Business which host to restore to, or restore directly to the cluster.
You can specify which datastore the restored data should be placed on.
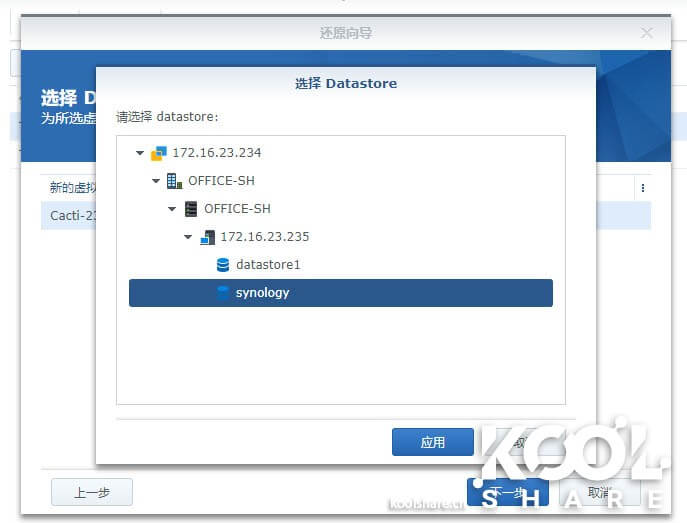
Finally, you can specify which virtual network the network adapter should be on.

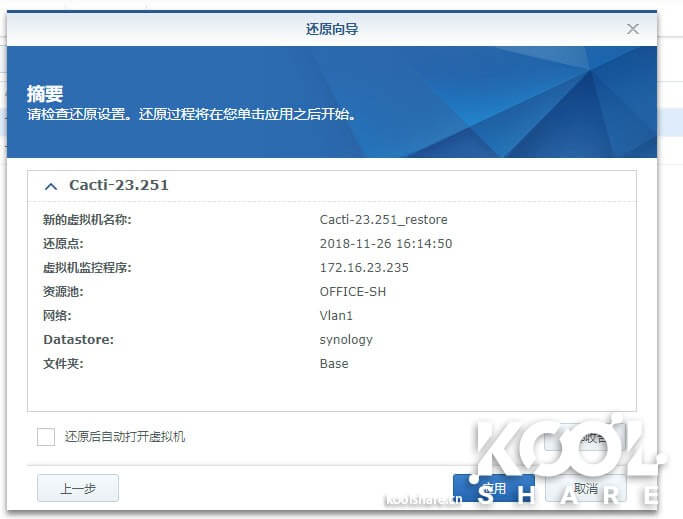
These settings are essentially similar to cloning a virtual machine, and Active Backup for Business reads the information in vSphere correctly. After confirmation, the virtual machine restore begins.
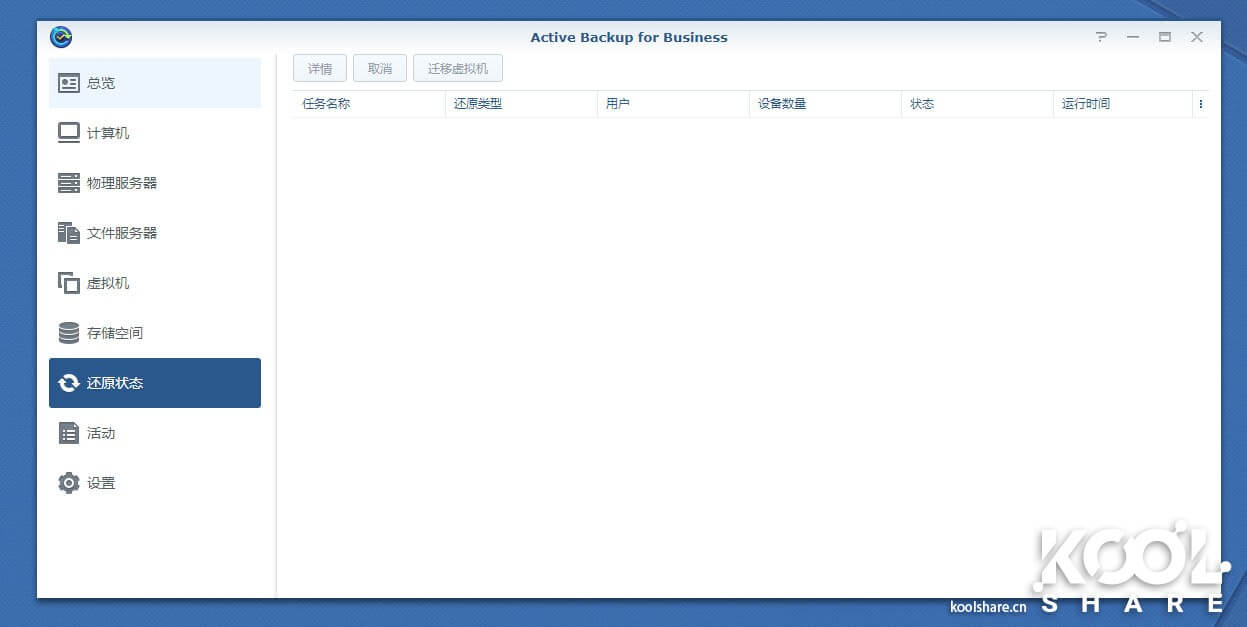
You can see the virtual machine restore progress in the Active Backup for Business restore progress view.
III. Restoring Virtual Machines to VMM
If VMware crashes and cannot be recovered in a short time, you can temporarily restore the virtual machine to Synology’s VMM so that business operations can resume as quickly as possible.
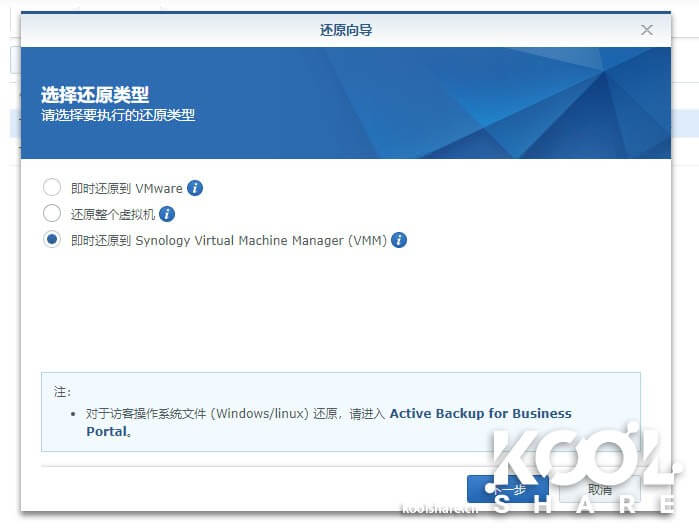
Here select the virtual machine and restore point to restore.
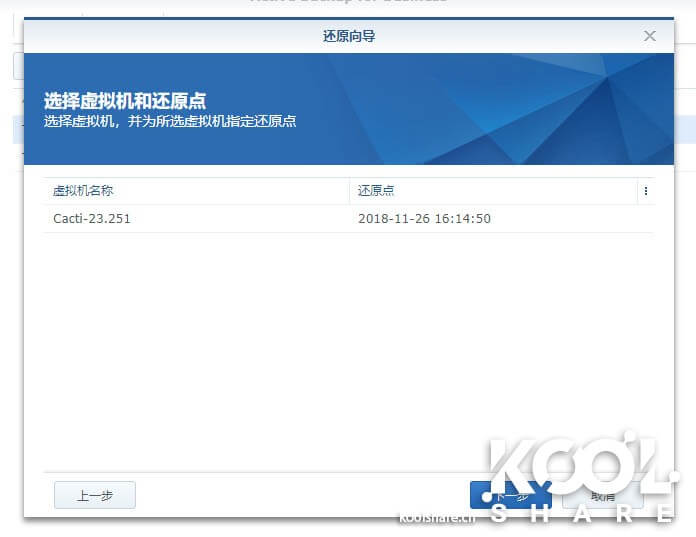
The VMM virtual machine import dialog box pops up directly; select which host in VMM to restore the virtual machine to.

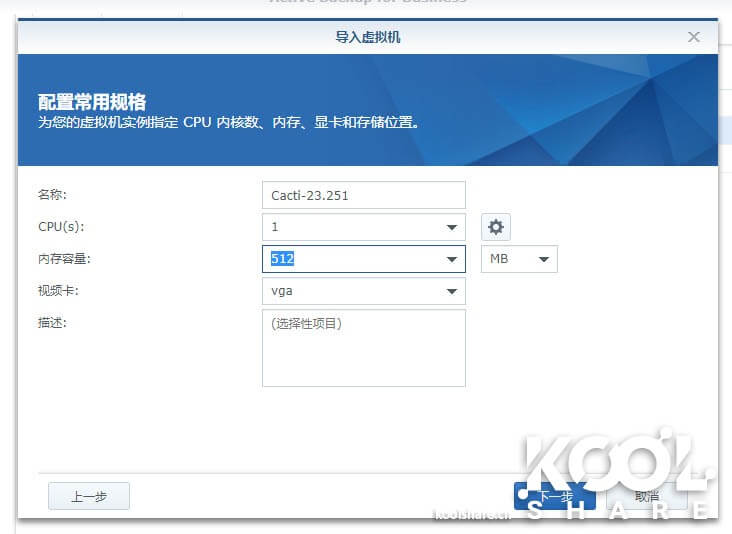
Next comes the content of the VMM import wizard; confirm the virtual machine’s CPU and memory usage.
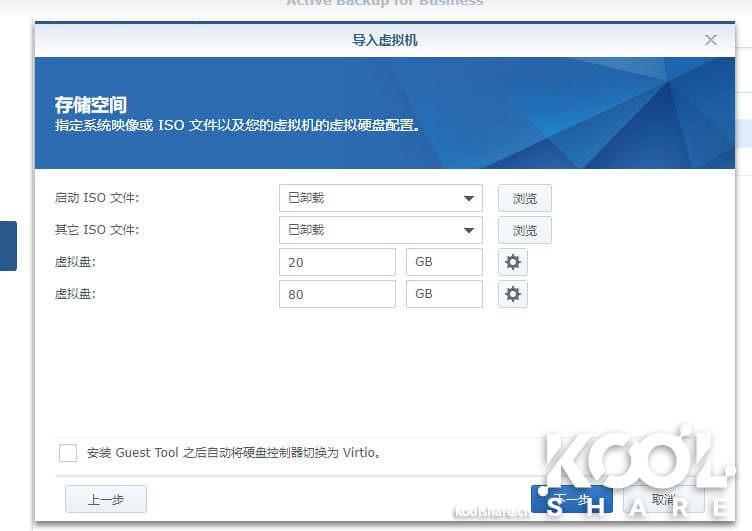
Confirm the virtual machine’s disk space.
Confirm the network required by the virtual machine.

Finally, confirm the virtual machine startup information.
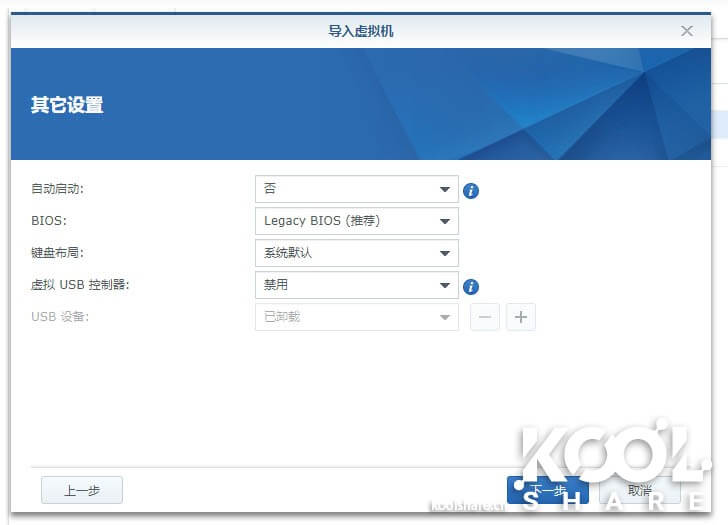
After final confirmation, the import begins.

Import complete; the virtual machine appears in VMM.
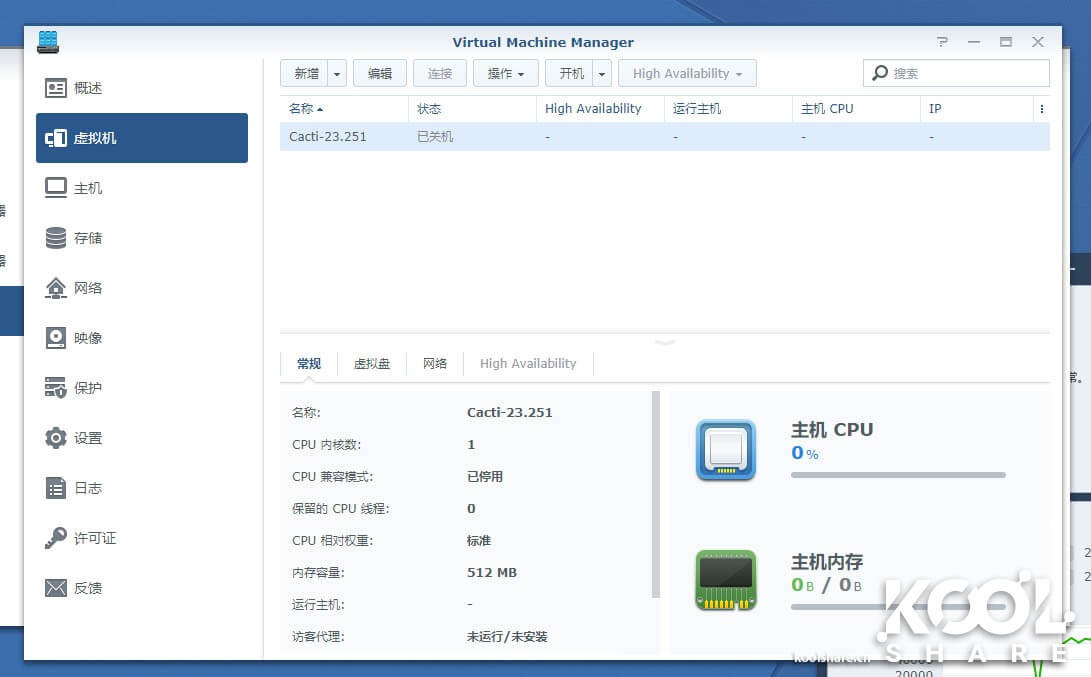
With that, we have taken a brief walkthrough of virtual machine backup and restore. You can see that Active Backup for Business offers very friendly support for VMware, sufficient to handle backups of virtualized clusters.
[Multi-Site Backup]
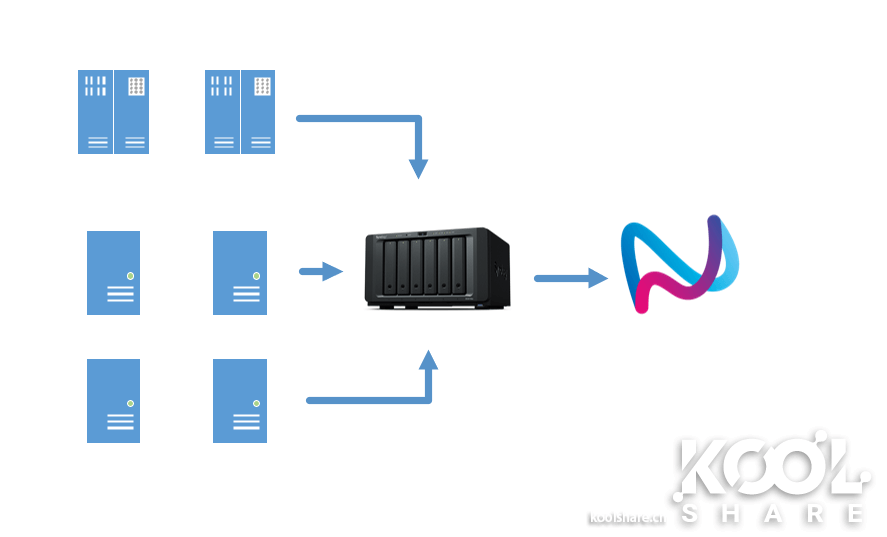
Finally, let’s discuss multi-site backup. Some friends worry that the Synology device itself might fail and want an extra layer of backup. Here you can use Synology’s Hyper Backup package to achieve multi-site offsite backup.
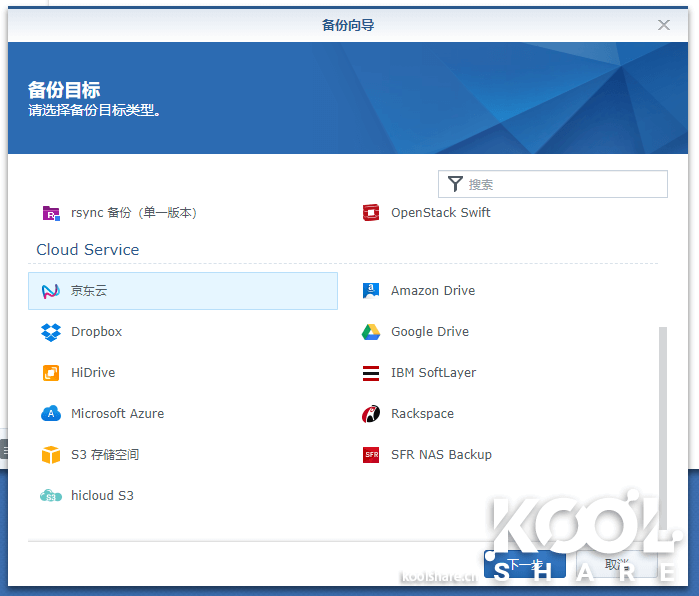
You can back up the Active Backup for Business storage space to another NAS, or back it up directly to JD Cloud, giving you two levels of multi-tier backup for more secure, multi-layered protection of your data.
[Summary]
Active Backup for Business gives us a complete solution for differential data backup, restore, and customized backup. It also provides batch management tools, greatly saving the manpower cost of enterprise IT staff in managing data backups. More importantly, Active Backup for Business is completely free. If you have purchased a Synology NAS, you can confidently use Active Backup for Business, without worrying about stability or legal issues.
Source: http://koolshare.cn/thread-150904-1-2.html